
LEVEL 1 / First print
Make a first print you can learn from
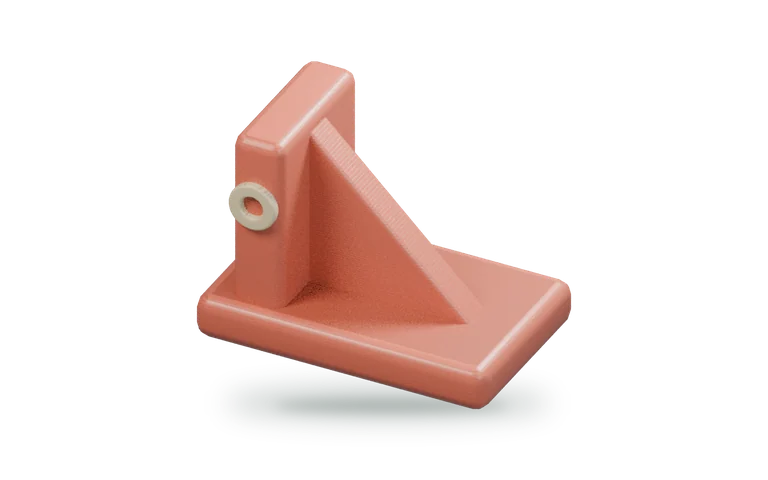
A small object with a flat base is an excellent first test.
- Start small
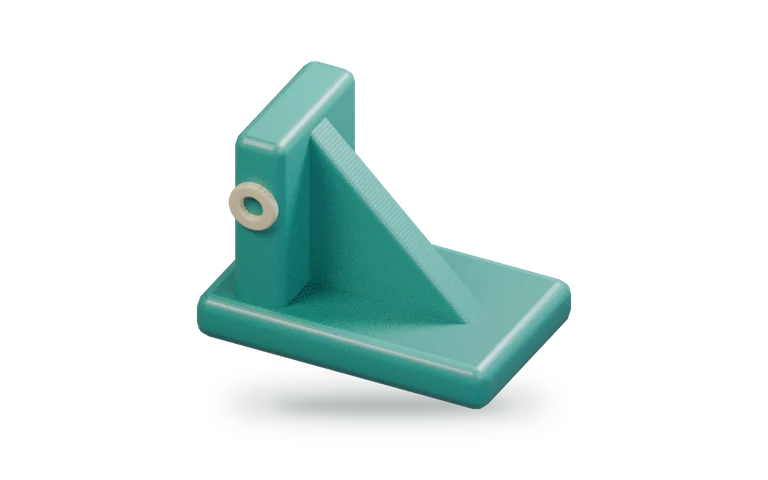
Use a familiar model with a stable base.
- Use the matching preset
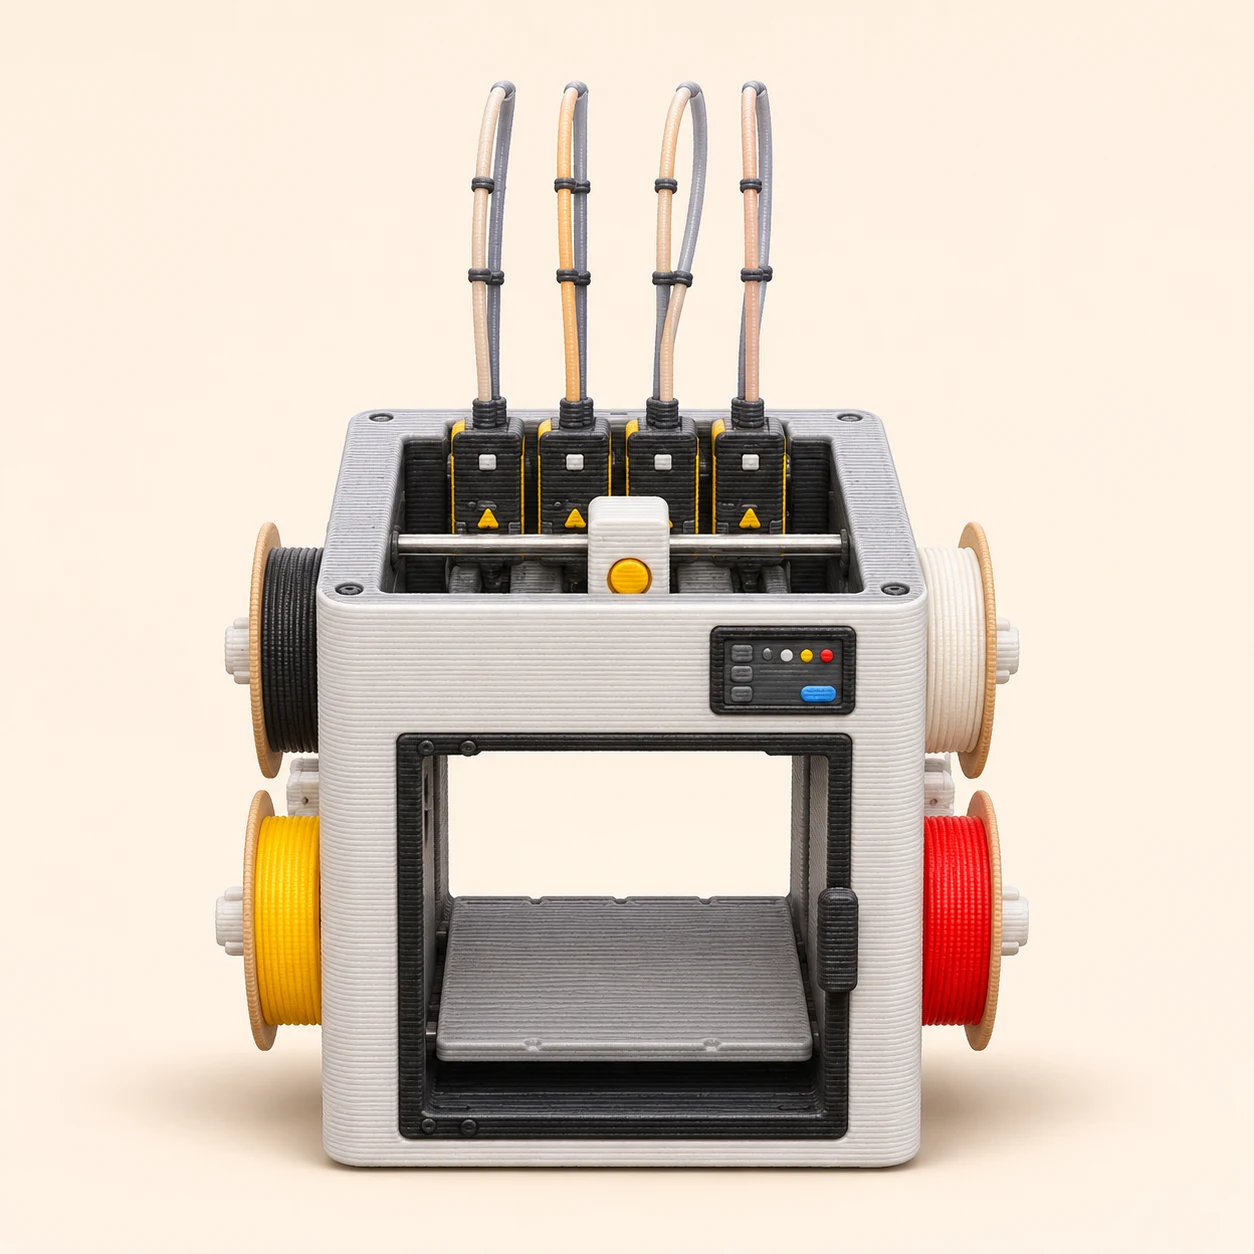
Confirm printer, nozzle and material.
- Inspect it
Compare the print with the model.
Your first print should answer a simple question: can this printer, plate and spool make a clean, repeatable small object? A flat nameplate or manufacturer sample is more useful than a long, intricate showpiece for this first check.
Build a known starting point
What this step changes
Starting with a supported material and a simple model removes variables. A tangled spool, wrong plate profile or unexpected shared-project preset can otherwise look like a printer fault.
Try it step by step
- Complete the manufacturer’s setup and required calibration. Inspect the nozzle area and bed for packaging, debris or leftover material while the machine is safe to handle.
- Choose ordinary PLA if the printer supports it, then select the exact PLA, printer, nozzle and plate profiles. For the U1, a supported Snapmaker PLA profile is a convenient starting point.
- Choose a short model with a flat base. Re-slice downloaded projects for your own machine, even when the shared 3MF already contains printer settings.
How to judge the result
Before starting, you should know the expected duration, which material is loaded and which surface the first layer will use. Save that setup so you can return to it after an experiment.
Read the first layer
What this step changes
The first layer is both the foundation and an early diagnostic. A nozzle laying lines onto a clean, compatible plate behaves differently from one dragging a loose blob around.
Try it step by step
- Preview the bottom layer and then start the job. Observe the initial extrusion and the actual object footprint. A purge line is not evidence that the whole first layer is good.
- Look for adjacent lines joining into a continuous surface. Gaps, heavily ridged lines, corners lifting or filament collecting around the nozzle deserve attention.
- If the print detaches or material accumulates, stop through the printer controls. Let hot areas cool, clean according to the plate instructions, and check seating, material and profile before trying again.
How to judge the result
Avoid prescribing a universal Z-offset correction: some machines automate this and others use a documented manual procedure. First confirm the basics. The first-layer troubleshooting article explains how to separate adhesion trouble from extrusion trouble.
Turn the result into your next experiment
What this step changes
A successful first print becomes a reference sample. Comparing one change against that reference teaches more than adjusting speed, temperature and layer height together.
Try it step by step
- After cooldown, examine the bottom, top surface, corners and text. If fit matters, measure the relevant feature rather than judging only by appearance.
- Write down one observation and one proposed change. For example, make lettering thicker in the model if it vanished in Preview, rather than randomly increasing nozzle temperature.
- Save the new project separately and print the same small test again. Keep the better result with its settings and a photograph.
How to judge the result
You now have a baseline, a reason for the next change and a way to compare results. Move on to infill, supports or build plates when your project calls for them, rather than buying upgrades to solve an unidentified problem.