
LEVEL 2 / Materials
Find your filament.
Pick a material by what your print needs to do. Then check the diameter, feed path, and print profile before you buy a spool.
- Define the job
Think about fit, flex and heat.
- Check compatibility
Review your printer and the filament maker’s guidance.
- Test a sample
Use a small print before committing.
Simple
↑ All materialsPLA and PLA+ for day-to-day printing
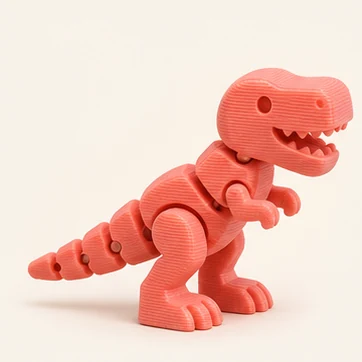
PLA · Articulated toy
- Use it for
- Small models, display pieces, nameplates, and prototypes you’ll revise. Plain PLA makes a good baseline for learning what a clean first layer and an accurate fit look like.
- Set it up
- Use the stock PLA profile and a compatible plate. Place the seam where it won’t interfere with a joint. Keep PLA parts away from sustained heat if their shape matters.
- Test print
- Print a small articulated link or joint from your model. Check that the moving parts separate cleanly and move without force.
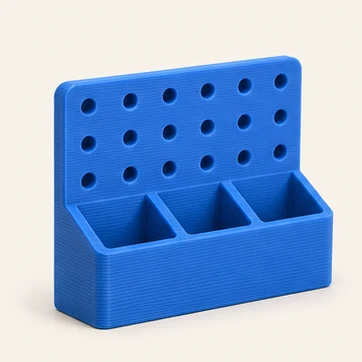
PLA+ · Pegboard holder
- Use it for
- Indoor organizers, fixtures, and fitted parts you handle often. Compare the specific blend’s data sheet if it needs to survive repeated bumps. PLA+ is a product label, so properties vary.
- Set it up
- Start with that spool’s recommended profile. Use enough wall thickness around fasteners and orient the print so the main load puts less stress across the layer bonds.
- Test print
- Print one mounting tab and hang it on the actual pegboard. Check the fit and flex before making a full row of holders.
What matte, silk, and glow change
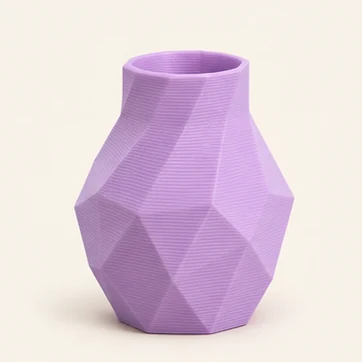
Matte PLA · Faceted vase
- Use it for
- Display pieces, signs, and decorative panels where you want a soft finish and less visible layer lines.
- Set it up
- Use the blend’s recommended profile. Try a consistent outer-wall speed to keep the finish even, and put the seam on the least visible edge.
- Test print
- Print a small corner of the design under the light where it’ll be displayed. Check the finish and inspect thin edges for strength.
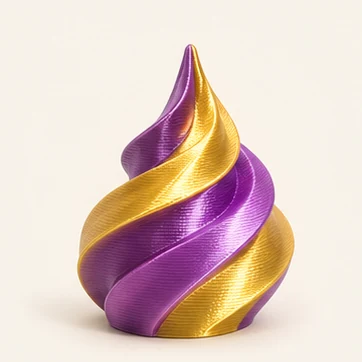
Silk PLA · Spiral ornament
- Use it for
- Decorative shapes that benefit from a reflective finish. On dual-color silk, different sides of the filament can show up as different colors around the part.
- Set it up
- Keep outer-wall speeds consistent. Try a slower outer wall if the shine changes between layers, and check the seam and part orientation before printing.
- Test print
- Print a small version and rotate it under a lamp. For dual-color filament, compare which faces show each color before committing to a long print.
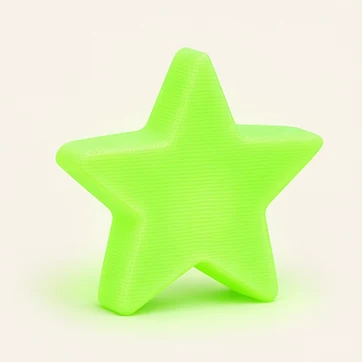
Glow PLA · Star marker
- Use it for
- Decorations, costume accents, and markers you’ll charge with light before viewing in the dark.
- Set it up
- Check the spool’s nozzle guidance. Glow pigments can be abrasive and may call for a wear-resistant nozzle. Use the profile for that blend.
- Test print
- Charge two samples with the same light. Compare them after the same time in the dark to see whether a thicker part gives you a useful difference.
Advanced
↑ All materialsPETG for practical parts and translucent color
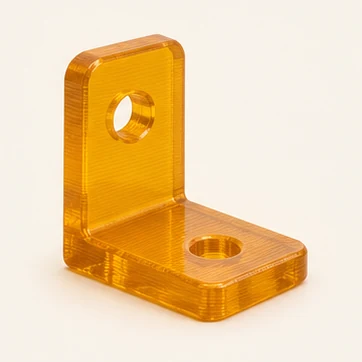
PETG · Translucent bracket
- Use it for
- Holders, bins, and fixtures where you want a little give. Translucent and metallic grades also work for display pieces. Layers and internal structure usually remain visible.
- Set it up
- Check the plate maker’s release instructions. PETG can grip some smooth surfaces aggressively. Start with a drying and flow profile for your exact grade before adjusting retraction.
- Test print
- Print the mounting end with the intended walls and orientation. Check screw clearance, flex, and whether the surface finish works for you.
TPU: start here when your print needs to bend
| I want to print… | Start with | Before you buy |
|---|---|---|
| A grip, foot, or bumper | 95A TPU | Use your printer’s supported flexible-filament path. Many setups feed TPU from an external spool. |
| The same type of part, with shorter print times | 95A high-flow TPU | Start with the spool’s profile and test volumetric flow. High flow describes extrusion, while 95A describes hardness. |
| A soft costume pad or wearable prototype | 75A TPU on a supported setup | Check the exact extruder and hotend. See the printer compatibility section for the H3C’s dedicated setup. |
| A flexible print using an AMS | An explicitly AMS-compatible TPU | Check your AMS model against the spool’s compatibility chart. Bambu TPU for AMS has a firmer 68D rating, on a different Shore scale. |
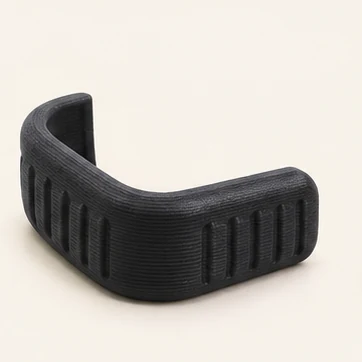
TPU · Flexible corner bumper
- Use it for
- Bumpers, grips, and cushioned parts. A 95A TPU is a practical first flexible for a compatible machine. A 75A formulation gives more readily, and the printed geometry also changes how soft the part feels.
- Set it up
- Confirm the exact spool’s diameter, hardness and supported feed path. Use a short, controlled path for soft material where the printer maker recommends it. Bambu’s 1.75 mm TPU for AMS is a separate formulation from H3C’s 2.85 mm TPU 75A.
- Test print
- Print two small bumpers with different wall counts. Press them against the intended surface and check that they recover their shape.
Removable support materials
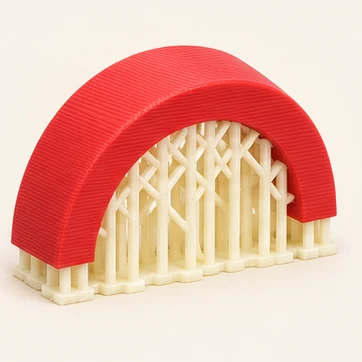
PVA or breakaway support · Printed arch
- Use it for
- Undersides and internal shapes that ordinary supports are hard to remove from. PVA can dissolve in water when the model material and workflow are compatible. Breakaway support is removed by hand after printing.
- Set it up
- Check the slicer’s compatibility guidance, bed and nozzle temperatures, and the recommended feed path. Keep PVA dry and consider using the support material only at the contact interface when the workflow permits.
- Test print
- Print a small bridge with the chosen support interface. Check whether it comes away cleanly and leaves the underside you need.
Engineering
↑ All materialsASA and ABS for parts that need more heat resistance
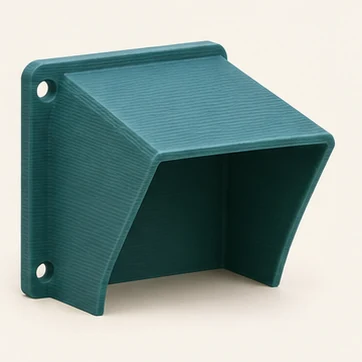
ASA · Outdoor rain hood
- Use it for
- Outdoor covers, mounts, and housings where sunlight and weather are part of the job. Design drain paths and overlaps if the part has to shed water.
- Set it up
- Follow the printer and filament maker’s enclosure and ventilation guidance. Avoid abrupt cooling of long edges and use the recommended build surface.
- Test print
- Print one corner and mounting flange. Check for lifting and fit. For long-term outdoor use, expose a sample to the actual conditions.
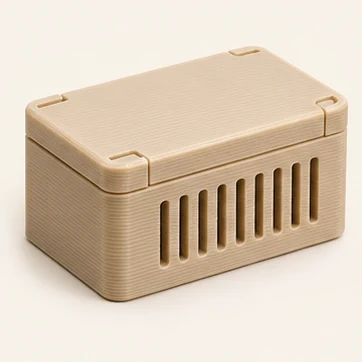
ABS · Vented enclosure
- Use it for
- Indoor housings and clips where you need impact or heat resistance. Check the grade’s data sheet against the conditions inside the enclosure.
- Set it up
- Follow the enclosure and ventilation guidance for your setup. Control cooling and keep long flat edges from lifting. Leave enough clearance for shrinkage in snap-fit parts.
- Test print
- Print a short section of the lid and one clip at full scale. Confirm they still fit after the part cools.
Nylon for tough functional parts
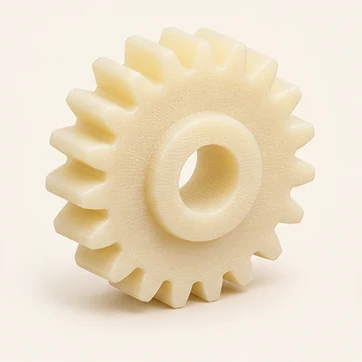
Nylon · Spur gear
- Use it for
- Tough functional parts, bushings, and prototypes that need repeated motion. Match the nylon formulation to the expected wear and load.
- Set it up
- Dry it according to the supplier’s directions and feed from a dry storage system if recommended. Check hotend, plate and enclosure requirements for the exact grade.
- Test print
- Print a short gear section or a small pair of gears. Check tooth fit and wear under the intended load before printing the final set.
Glass- and carbon-fiber-filled blends
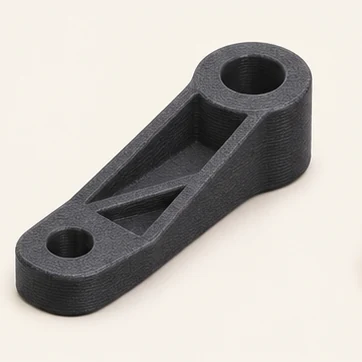
Fiber-filled blends · Mounting arm
- Use it for
- A stiffer bracket is one use for fiber-filled nylon. The choices below also include PET-CF and PETG-CF: these are different base polymers, not interchangeable nylon profiles. Siraya Tech’s Fibreheart range includes PET-CF and PETG-CF options. Check the exact material data sheet and direction of the load. Chopped fiber in a filament does not make a printed part equally strong in every direction.
- Set it up
- Use the diameter and wear-resistant nozzle recommended by the filament maker. Dry the spool and compare the required hotend temperature with the printer’s specifications.
- Test print
- Print a small tab around a fastener hole with the same orientation as the finished part. Tighten it to the intended load and inspect for cracking or deformation.
Choose the base polymer first. PLA-GF, PETG-CF, and nylon-GF have different heat, moisture, and printing requirements. For fiber-filled material, use a wear-resistant nozzle and follow the spool maker’s minimum nozzle size. Print a small bracket or mounting tab in the same orientation as the final part before putting it under load.
Snapmaker filament workflow
↑ All materialsSnapmaker filament: a convenient U1 starting point
SnapSpeed PLA, Matte PLA, PETG HF and TPU 95A HF provide a range of everyday and flexible choices, with supported Snapmaker Orca profiles for the U1. On supported U1 hardware, RFID can load material information; it does not replace checking the actual spool and project settings. Other printers need their own compatible profiles and do not gain U1 RFID support by using the same filament.
For color-mixing projects, Snapmaker also sells dedicated PLA Full Spectrum bundles. Those are different from a random set of four colors: follow the selected bundle’s software version, material profile and model recipe.
Experimental materials
↑ All materialsTimeplast: a different kind of filament project
Timeplast belongs in its own highly experimental category, separate from ordinary engineering filaments. These products explore behaviors such as water activation or wax-like properties. They are not drop-in PLA, PETG, nylon or ordinary soluble-support replacements.
Smaller spools, different economics
Do not assume a full 1 kg roll. For example, Detergent Filament Gen 6 is listed at 350 g. Check the net weight of each product and compare price per kilogram when budgeting a test.
Plan substantial drying time
Timeplast needs much more preparation than a routine spool swap. Some published guides call for 55°C for 24–48 hours; other products specify different cycles. Follow the exact product guide and keep the material dry during the project.
Treat it as an experiment
Start with a small dedicated test. Nozzle size, print behavior, storage and the finished part’s response to water or heat depend on the formulation. Choose it for the experiment you want to run, rather than assuming a standard engineering-material profile will work.
Find a starting filament profile
3D Filament Profiles is another resource for exploring profiles. Match the exact printer, nozzle and filament where possible, then test your own spool before a long print.
Printer compatibility
↑ All materialsCheck your printer before you buy: 1.75 mm or 2.85 mm
1.75 mm
The everyday format on many desktop machines, including the Snapmaker U1 and most Bambu Lab workflows. Start here when your equipment specifies it.
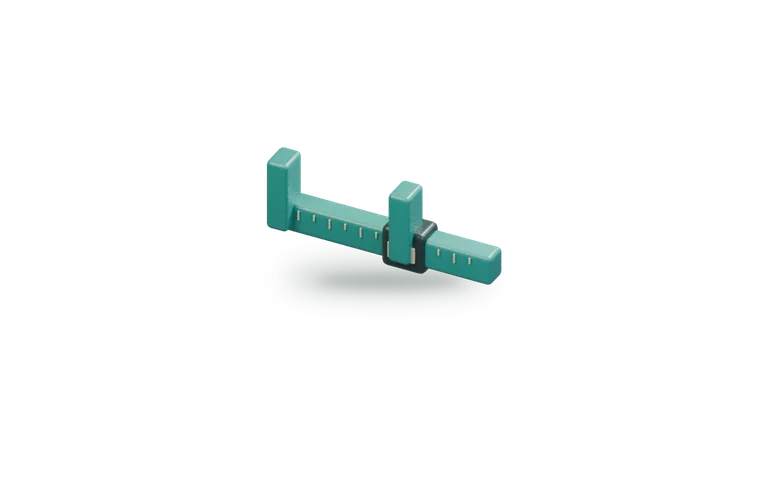
2.85 mm
An established format on machines such as UltiMaker’s S series. Bambu’s H3C also uses it for a dedicated soft-TPU workflow.
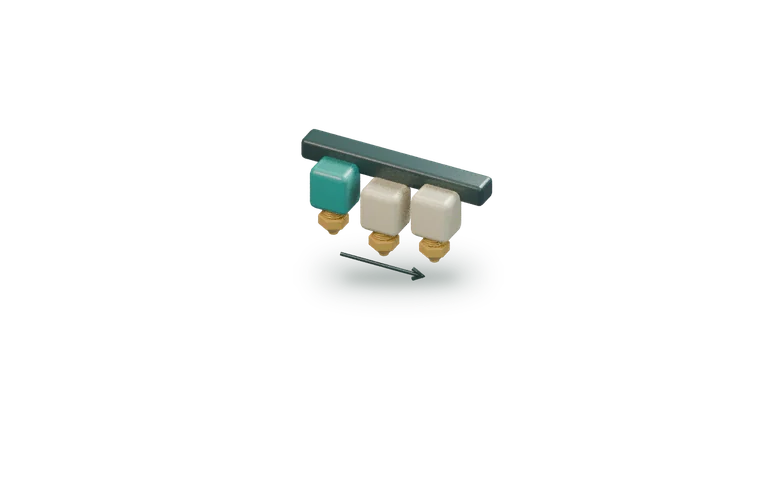
Match the whole path
Spool, feeder, extruder, hotend, and slicer profile must all support the chosen diameter and material.
The two diameters are physically different. At equal feed lengths, 2.85 mm filament contains about 2.65 times the volume of 1.75 mm filament. That geometry can help a soft strand resist buckling in a compatible setup. Real print speed still depends on how fast the hotend can melt it and how reliably the system can feed it.
What the Bambu Lab H3C changes for soft TPU
The H3C brings 2.85 mm back into a flagship desktop workflow specifically for very soft TPU. Its FlexFeed extruder adapts between 1.75 and 2.85 mm paths. Bambu’s 2.85 mm TPU 75A runs through the bypass with the dedicated 2.85 mm hotend. The integrated AMS 3H handles compatible 1.75 mm filaments, and RFID can identify tagged spools for the printer and slicer.
Bambu reports up to 10 mm³/s with its 75A TPU on this setup. Think cushioning, flexible costume details, and soft prototype wearables. The headline is a new way to run a particularly soft grade. Check Bambu’s compatibility guidance before buying any other 2.85 mm spool for the H3C.
What the spool label tells you
| Label | When to choose it | What to check |
|---|---|---|
| Plus, Pro, or Tough | Start here for a PLA part that gets bumped or handled a lot. | These are brand-specific names. Compare impact and heat data for the exact spool. |
| HF or High Flow | Choose it when extrusion flow limits how fast you can print. | Use a matching slicer profile and test the safe flow limit for your hotend. |
| GF or Glass Filled | Compare glass-filled grades for a stiffer fixture or bracket. Some come in bright colors. | Check the base plastic, drying instructions, and wear-resistant nozzle requirements. |
| CF or Carbon Filled | Compare carbon-filled grades for a stiff jig, mount, or dimensionally stable prototype. | Check layer direction and grade-specific strength data. Use the recommended wear-resistant nozzle. |
Bambu filament lines for everyday printing
Compare PLA Basic for a standard finish, PLA Matte for display pieces, and PETG HF for jobs that call for PETG and a high-flow profile. Check whether you’re buying a refill or a complete spool and confirm that it fits the feeder you plan to use.