
Hardware
Find your nozzle.
Choose the opening, understand wear and melt flow, and find a compatible nozzle for your printer.
Two decisions. One compatible part.
A nozzle’s opening controls the useful range of extrusion widths; its material and design affect wear and heat transfer. Its mounting family decides whether it fits at all. Start with your exact printer and installed hotend, then choose the diameter and material for the job.
A practical kit
Start with a stock 0.4 mm, a detail nozzle around 0.2 mm where supported, and a compatible wear-resistant 0.6 mm for functional or abrasive projects. Add 0.8 mm when large parts justify it. You do not need every size to get started.
Know what you are buying
A bare threaded nozzle, an integrated nozzle / heatbreak and a complete heated assembly are different products. Match length, seat, mounting, heater, sensor and connectors. The word “Unicorn,” “Nextruder” or “Revo” is not a universal compatibility promise.
Choose the opening for the object.
Line width is a slicer setting, not a fixed copy of nozzle diameter. Layer height is a separate dimension. These examples describe useful choices, not universal presets.
Hover for the details, or tap a card to keep it open.
 .2 / .25 mmFine detailDetails +
Tiny lettering, miniatures and ornaments benefit from narrower paths. Check Preview: a detail smaller than the slicer can resolve may disappear. Expect more toolpath distance and longer prints; filled materials can be unsuitable for tiny openings.
Try this: Slice the same small text sample with each supported diameter and compare which strokes survive.
 .4 mmEveryday printingDetails +
A useful baseline for toys, organizers and prototypes. Most printers have a well-developed stock profile here. Start with the installed assembly before assuming another material or opening will improve every print.
Try this: Keep a known good 0.4 mm print and its project file as your comparison sample.
 .6 mmFunctional partsDetails +
Wider lines can reduce the number of wall passes on brackets and workshop parts. A compatible wear-resistant version is often useful for filled filaments when the filament maker allows it. Larger diameter alone does not guarantee stronger layer bonds.
Try this: Print a short section around the actual fastener or mating feature, in the final part’s orientation.
.8 mmProps and large partsDetails +
Helmets, bins and large fixtures often tolerate coarser features and taller layers. The gain depends on melt capacity, toolpath length and cooling: doubling the opening does not automatically double useful speed.
Try this: Compare the same sliced project, including supports and the tested volumetric limit.
1.0–2.0 mmSpecialist material flowDetails +
Oversized planters, display sculptures and rough mockups can suit very wide lines. This is specialist territory: nozzle fit, heater capacity, extruder, firmware and profiles must support it. Most enclosed consumer printers do not offer every diameter in this range.
Try this: Use the calculator to estimate flow demand, then validate on compatible hardware with a small continuous-wall test.
Interactive calculator
Nozzle, speed & melt-flow demand.
Move the nozzle slider from 0.2 to 2.0 mm. Line width and layer height follow it; speed and the tested material / hotend flow limit determine whether the melt path can keep up.
Within the entered melt-flow budget. Motion limits, cooling, material behavior and print detail can require a lower real speed.
The math and what it can predict
Flow Q = bead cross-sectional area A × print speed v. With line width w and layer height h, the rounded-rectangle model uses A = h(w − h) + πh²/4. The rectangle estimate uses A = wh. Speed ceiling = tested maximum flow / A. Filament feed = Q / (πd²/4), where d is filament diameter. Calculations use full precision and round only for display.
These equations are exact for the chosen geometric model, not a measurement of the real bead. Slicers differ in bead modeling, overlap and flow compensation. The limit is your tested sustained flow for the actual material, temperature and hotend; 12 mm³/s is an example input, not a recommendation. There is no universal nozzle-to-temperature formula. Follow the spool temperature range and calibrate at the intended conditions. A 2.0 mm nozzle requires specialist compatible hardware.
Match the material to wear and heat.
Diameter, abrasion resistance and melt capacity solve different problems. Your stock hotend may already have the right tip; check its specification before replacing it.
Everyday unfilled PLA / PETG
Brass
Good heat transfer, low entry cost and widely available in traditional nozzle formats. Abrasive fibers and glow pigments can wear it quickly. Many newer printers ship with stainless or hardened assemblies instead; brass is not automatically the correct spare.
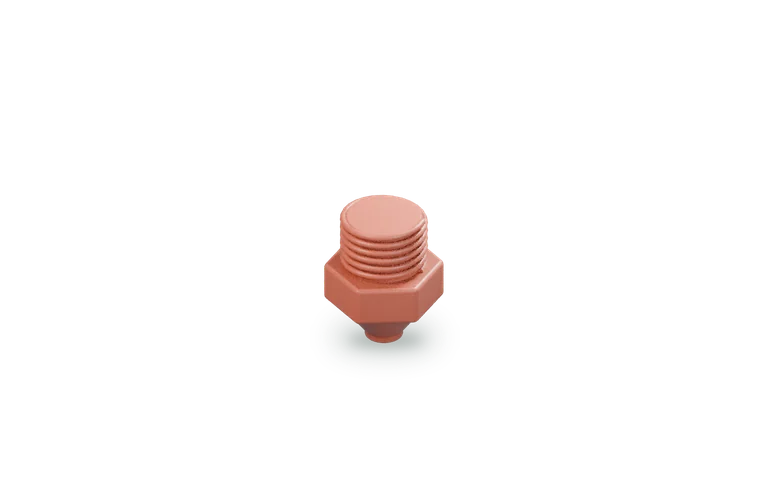
A practical first abrasive upgrade
Hardened steel
Useful for glow and approved fiber-filled materials. Heat transfer and supported speed can differ from your old assembly, so use the matching profile and calibrate. Wear resistance does not guarantee that a small opening will pass long fibers.
Supported stock and specialty workflows
Stainless steel
Corrosion resistance and particular stock hotend designs make stainless useful. It is not the same as hardened steel for abrasion, and installing stainless does not make the entire print process food safe.
Heat transfer and faster deposition
Copper alloy / high-flow designs
Body material and internal melt-path design are separate features. A copper body with an unprotected tip may still wear on abrasive filament. CHT-style geometry can improve melting, but the complete hotend and filament set the useful limit.
Frequent abrasive printing
Coated hardened / ObXidian
A hardened tip and a suitable coating can improve wear behavior and reduce buildup. Coatings, internal geometry and flow capability vary by product. Confirm the exact E3D or Micro Swiss family rather than shopping by the word “coated.”
Long-term wear-focused printing
Tungsten carbide
Available as solid or bimetal designs from specialist brands such as West3D / Undertaker, Spool3D and QIDI. Construction and compatibility matter; “tungsten” alone does not promise an identical flow limit or installation procedure.
Heavy use of abrasive materials
Diamond-tipped / DiamondBack
A premium wear-focused option with a higher purchase price. Choose the exact nozzle or complete hotend family. It can be excessive for occasional unfilled PLA, and a durable tip still needs appropriate profiles and ordinary maintenance.
Convenient diameter changes
Revo is an ecosystem
Revo is useful for frequent swaps. Revo offers brass, ObXidian, high-flow and DiamondBack variants, but requires a matching Revo hotend. Change it using E3D’s specified cool-down procedure; do not apply thermal compound or hot-tighten parts unless that exact installation guide calls for it.
Find the part for your machine.
Filter the checked product options. Amazon buttons use individual product links with Happy Printing’s referral tag; manufacturer links are included where that exact part has no verified Amazon match here. Compare the selected variant and seller before ordering.
98 compatible-family options match these filters
V6 ecosystem
Bondtech CHT coated brass
Listed diameter options: 0.4 mm / 0.6 mm / 0.8 mm / 1 mm. Choose the matching store variant.
V6 ecosystem
Bondtech CHT BiMetal · vanadium steel
Listed diameter options: 0.4 mm / 0.6 mm / 0.8 mm / 1 mm. Choose the matching store variant.
V6 ecosystem
Slice Engineering Vanadium · hardened tool steel
Listed diameter options: 0.4 mm / 0.6 mm / 0.8 mm / 1 mm. Choose the matching store variant.
Prusa Nextruder
Brass
Listed diameter options: 0.4 mm. Choose the matching store variant.
Flashforge AD5M
Standard assembly
Listed diameter options: 0.25 mm. Choose the matching store variant.
Flashforge AD5M
Standard assembly
Listed diameter options: 0.4 mm. Choose the matching store variant.
Flashforge AD5M
Hardened steel
Listed diameter options: 0.6 mm. Choose the matching store variant.
Bambu A1 / A1 mini
Hardened steel · aftermarket
Listed diameter options: 0.4 mm. Choose the matching store variant.
Swap once. Check the entire setup.
- Identify the assembly. Compare your installed hotend with the maker’s replacement guide. Unload material and follow its specified temperature, power and cool-down steps. Some threaded designs need controlled hot tightening; quick-change systems have different procedures.
- Fit the correct part. Use the specified tools and torque. Do not twist heater or sensor wires. Inspect connectors, silicone sock, nozzle seating and clearances before powering up.
- Update the profile. Set nozzle diameter, compatible line width and layer-height range. Select the correct material profile and recheck maximum volumetric speed. Revisit support spacing and interfaces: wider support lines can change removal.
- Calibrate what changed. Follow the printer’s nozzle / tool-offset and first-layer procedure. Calibrate flow and pressure advance when supported and needed. A toolchanger can require checks on every affected tool.
- Verify on a small print. Watch for leaks, inconsistent extrusion and unexpected collisions. Compare a known reference model before committing to a long job.
A worn tip can resemble a tuning problem, but a clog, damp spool, dirty plate or loose assembly can too. Diagnose the fault before buying a premium nozzle.
Source write-ups and compatibility references
Combined from the “Nozzle Size” and “Nozzle upgrades” articles, with compatibility and calibration guidance checked against the linked manufacturers.