
For educators
Plan a classroom print queue
Plan for machine time, learner activity and instructor support before the first session.
- Plan the time
Allow for setup, cooling and reprints.
- Give learners roles

Rotate design, slicing and inspection.
- Test the workflow
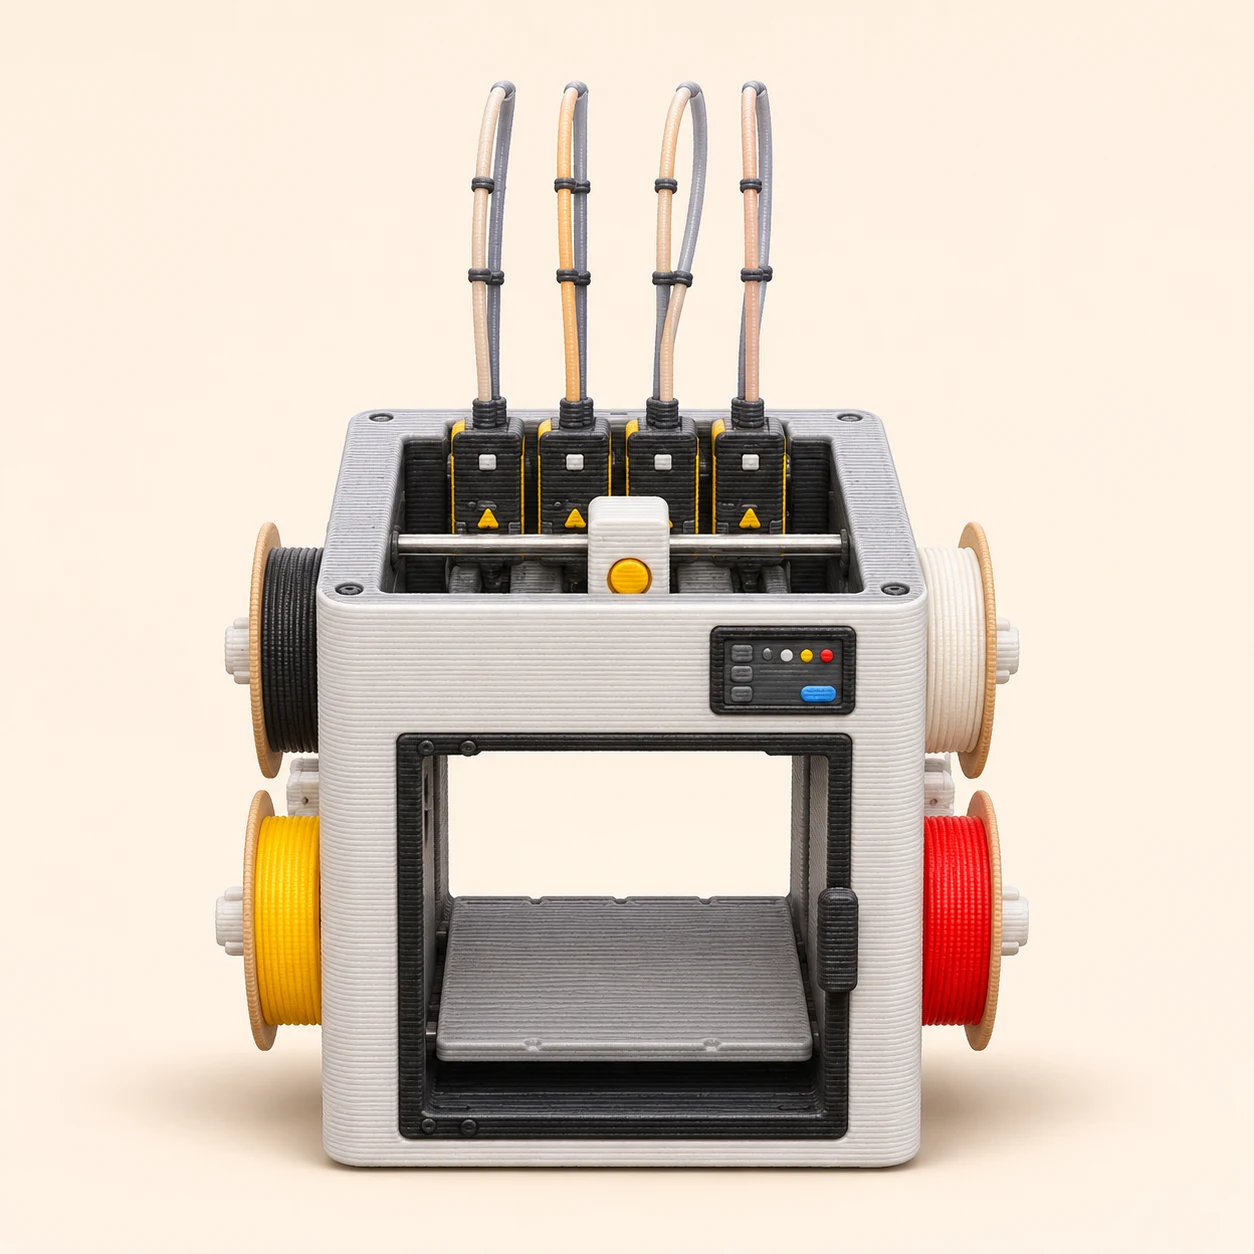
Print the sample before the class.
Plan the learning activity around the available machine time. A classroom with one printer can still give every learner a design, slicing and inspection task, even when everyone cannot receive a finished object during the same lesson.
Budget the entire cycle
What this step changes
The slicer estimates printing time, not the complete classroom cycle. Preparation, plate changes, cooling, removal and failed attempts all consume the same limited resource.
Try it step by step
- Run the exact lesson model on the actual printer before class. Record setup, print, cooling and removal time separately.
- Multiply the measured cycle by the number of batches and machines. Reserve time for retries and maintenance instead of scheduling every available minute.
- For example, six batches at 35 minutes per complete cycle need 210 minutes on one machine. Add your observed preparation and contingency time if they were not included in the measurement.
How to judge the result
If the total exceeds the session, reduce part size, batch differently after testing, spread printing across days or use shared group models. Do not promise a same-day print based only on a downloaded model’s advertised time.
Give learners work while the printer runs
What this step changes
Watching a long print is not a complete lesson. Rotating roles keeps students making decisions while the instructor controls hot and moving equipment.
Try it step by step
- Set up design, slicing, observation and inspection stations. Supply finished samples, including a deliberately flawed print for discussion.
- Give each team a constraint such as a maximum footprint or a readable nameplate. Ask them to explain orientation and material choice before the job joins the queue.
- Use a queue with team name, file version, printer profile, estimated duration and review status. Keep contact information and other private learner details out of publicly shared files.
How to judge the result
A learner should be able to describe one design decision and one measured result, even if their object prints later. Keep an approved backup model so a file problem does not stall the whole class.
Make approval and handoff explicit
What this step changes
A queue works when one responsible operator confirms readiness. This also creates a clear point to check the room, equipment and supervision arrangements.
Try it step by step
- Follow the school’s equipment rules and the manufacturer’s instructions. Plan ventilation and location using the NIOSH schools and makerspaces guidance.
- Have the designated operator review the actual sliced project, plate, material and first layer. Mark jobs approved, printing, cooling, complete or retry.
- Record actual cycle times and failure causes after class. Revise the next lesson’s queue using those measurements.
How to judge the result
Do not treat an enclosure or a consumer filter as proof of adequate exposure control. Use the print-room air guide and the linked NIOSH guidance when planning the space. Make collection and cool-down procedures part of the lesson.