
Getting started
My child wants a 3D printer. Which one do I buy?
Pick a printer they’ll actually use. A reliable first print matters more than a long feature list.
Which sounds like your child?
A smaller, lower-cost machine can be enough for a long time. Colorful filament and painting offer plenty to explore.
A shortlist you can actually use.
These options follow the choice you made above. Compare the one that fits their next projects, the family budget and how much help an adult will provide.
Small toys & first projects
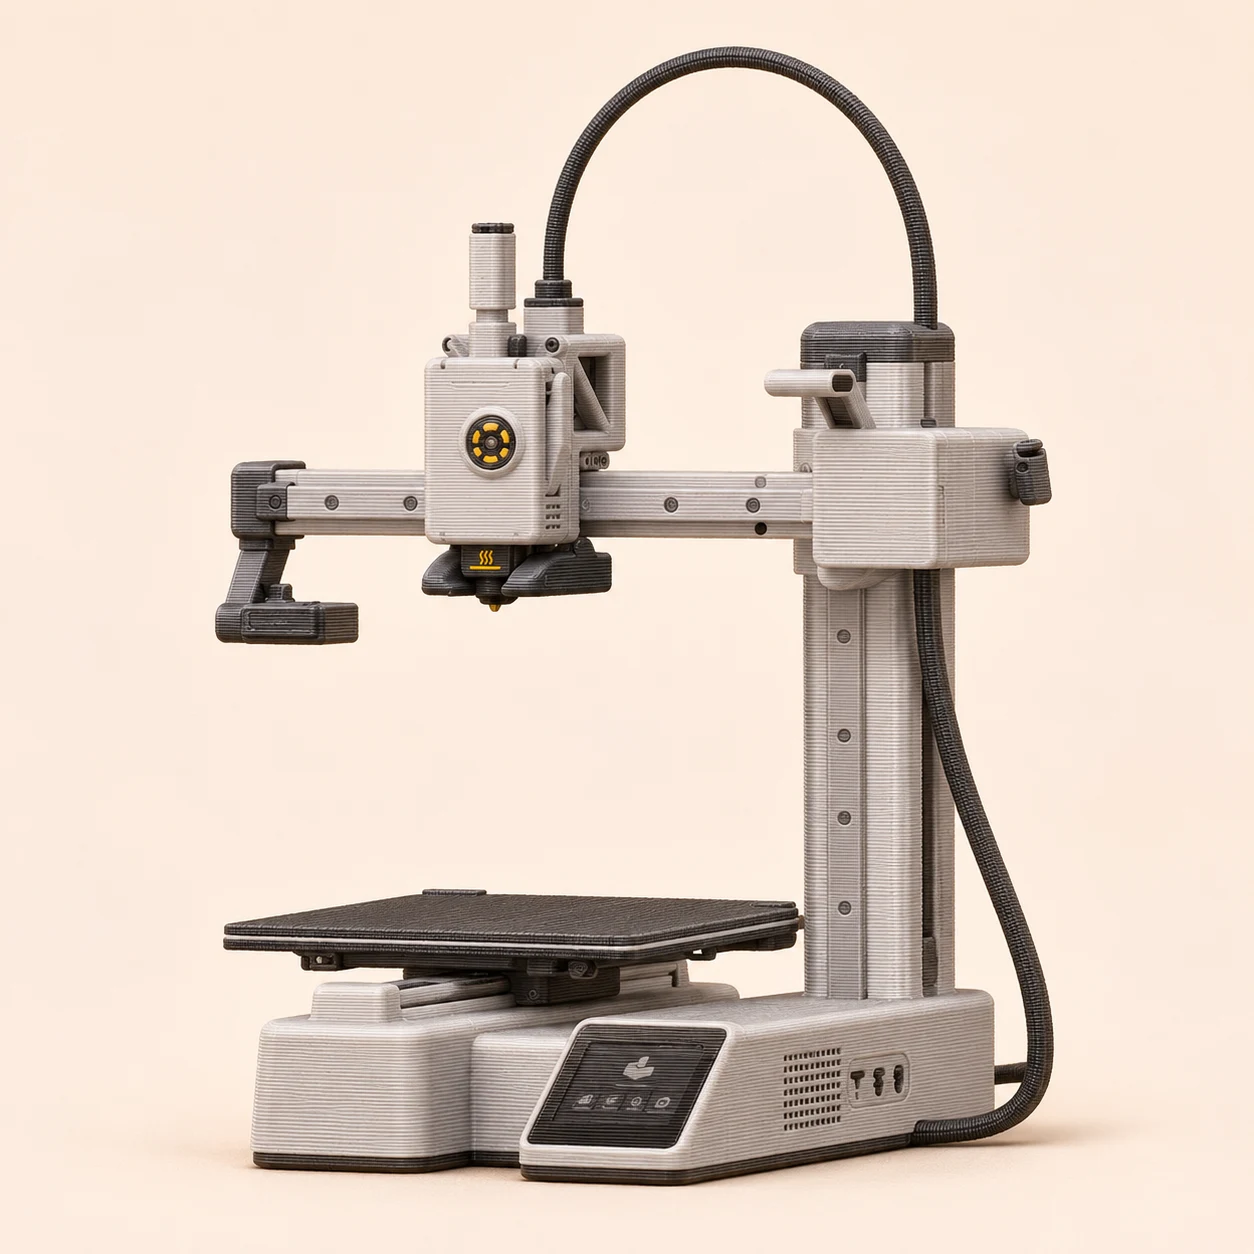
Bambu Lab A1 mini
Start small and build confidence.
If they mainly want dragons, little figures, nameplates and school models, the A1 mini is a sensible starting point. Its smaller footprint and straightforward workflow help you focus on making something together.
Ask them to choose three real projects. If those fit a small printer, you have a reason to keep the first purchase simple.
You can paint a single-color print. Add automatic color later if it becomes something they will use often.
Their own designs & larger projects
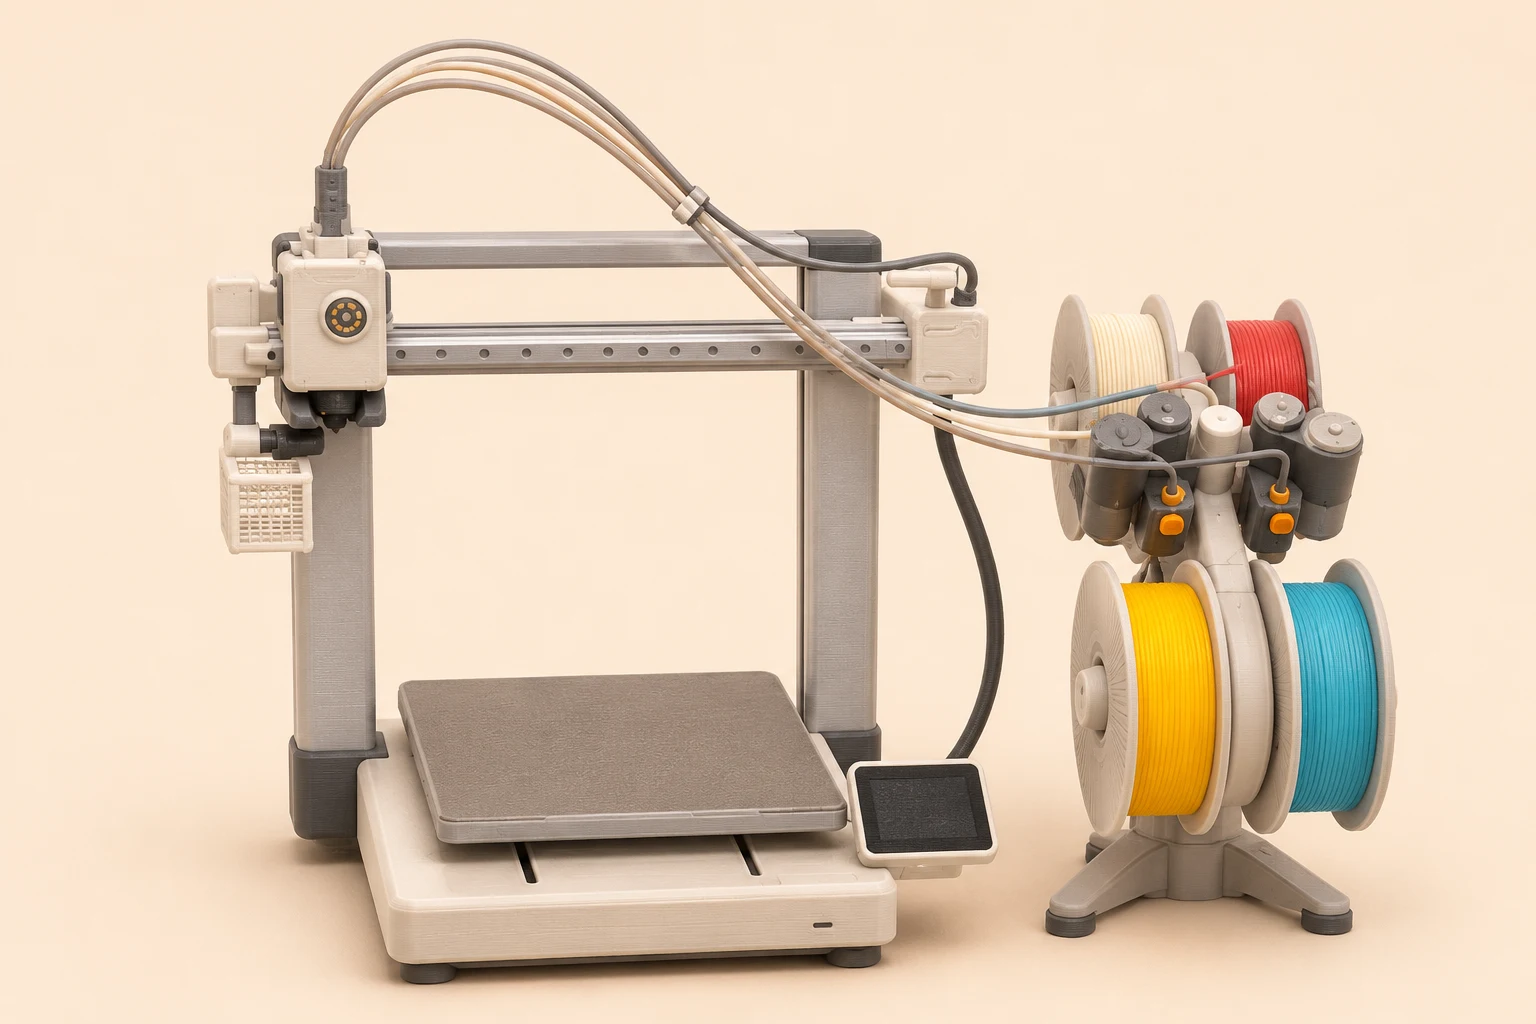
Bambu Lab A1
Give growing ideas a little more room.
Choose the A1 when their next projects include organizers, larger signs or boxes they want to design themselves. The extra room is useful when you can name a project that needs it; learning design does not require an expensive printer.
Have them show you the biggest object they expect to make. Check the model in the slicer before buying, including any supports around it.
Leave some of the budget for filament and time learning ToyCAD or Tinkercad. A successful first design can matter more than another hardware feature.
An enclosed, mostly single-color option
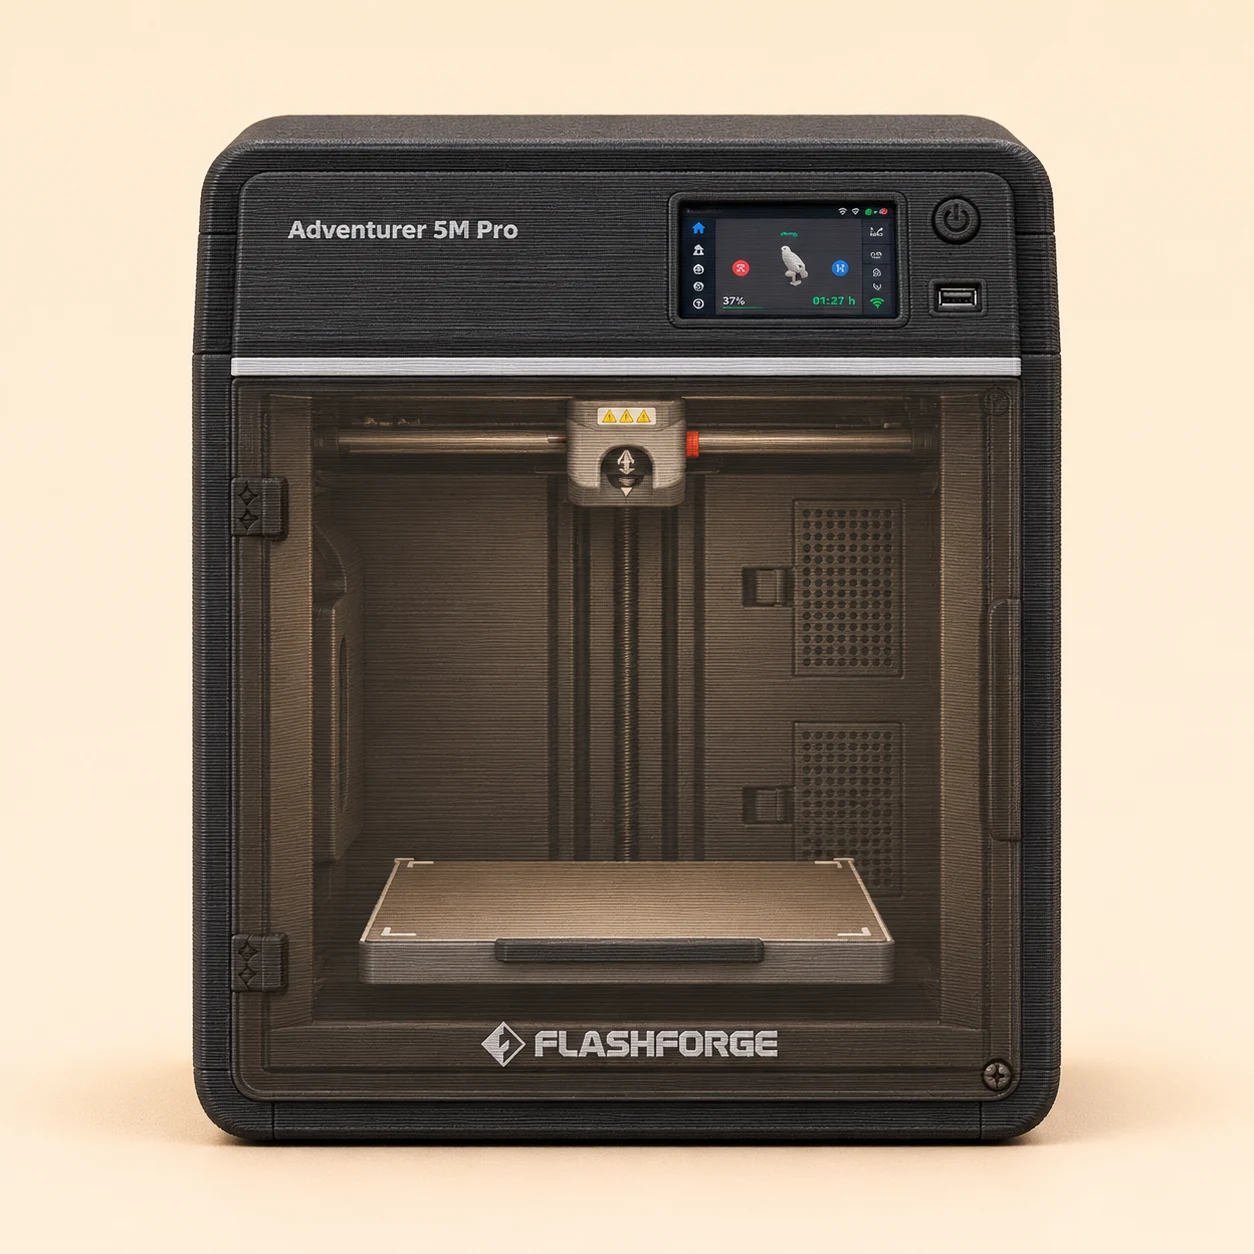
Flashforge Adventurer 5M Pro
A different fit for the family workspace.
The Adventurer 5M Pro is worth comparing if you prefer an enclosed machine and expect mostly single-color projects. Check the software and replacement-part workflow as well as the machine itself.
Watch a setup and maintenance walkthrough with your child. Decide who will load filament, start jobs and deal with the occasional stuck print.
The enclosure keeps the moving mechanism behind panels, but hot parts and emissions still need thoughtful placement and adult oversight.
Prices are in USD and identify the maker-store package shown. Store prices refresh when available; a dated listing remains visible if a store cannot be reached. Amazon prices, sellers and bundles can differ.
King of the hill: “I just want the biggest, best setup.”
Go big. Know what you’re buying.
The H3C belongs here as a flagship material platform. “Best” still depends on what you make: extra material paths, a larger build area and a simpler first experience are different priorities. These are adult-led workshop purchases that the family can grow into.
Flagship workshop option
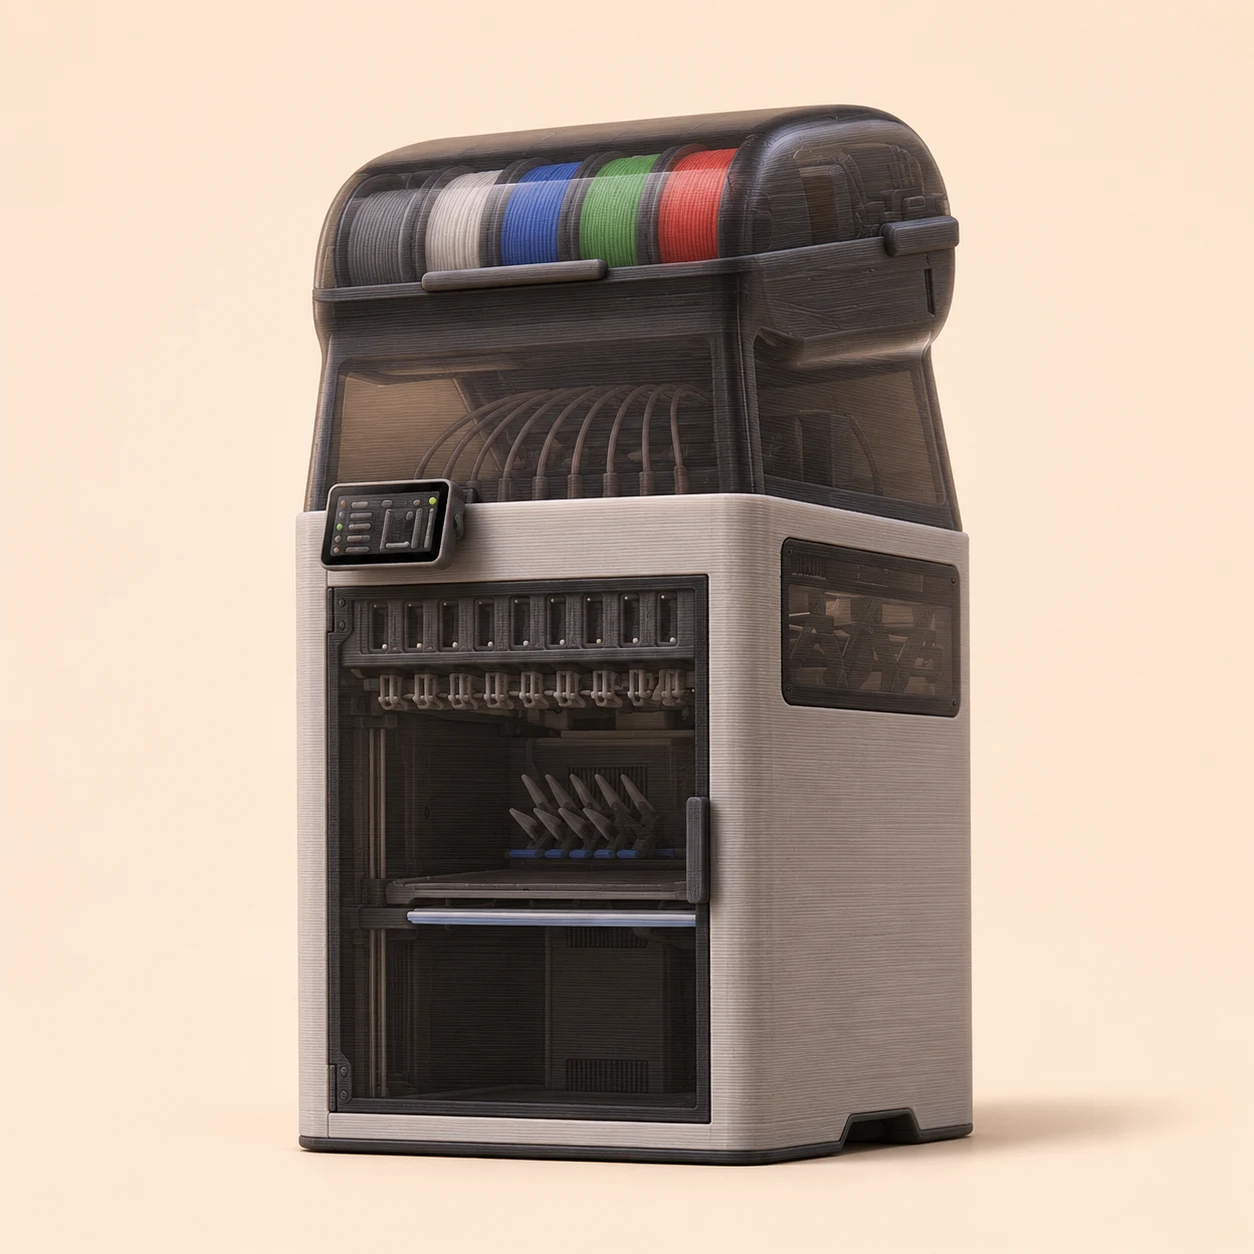
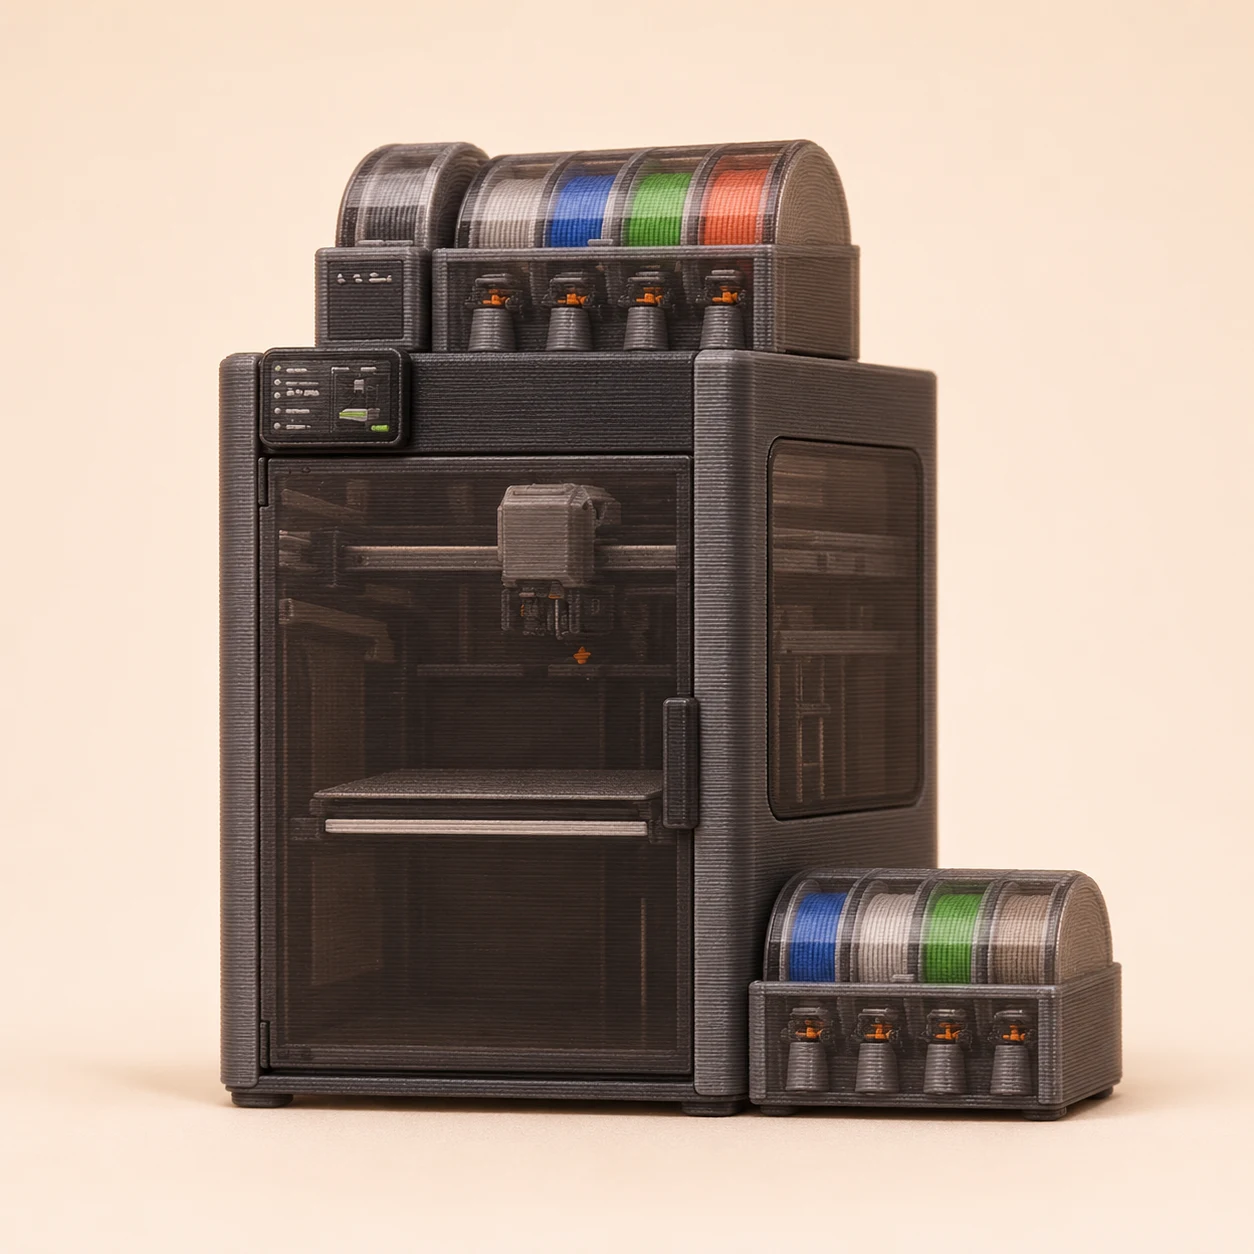
Bambu Lab H3C
The all-in material flagship.
For the parent who wants the newest Bambu flagship: nine separately loaded PrintTools, an enclosed platform and integrated AMS 3H material handling make the H3C an ambitious shared workshop option.
What to compare
A new platform carries a shorter track record. Check local delivery, required access space, tool and filament compatibility, and ongoing maintenance. Its 330 × 320 × 325 mm build area does not make it the largest printer here.
Flagship workshop option
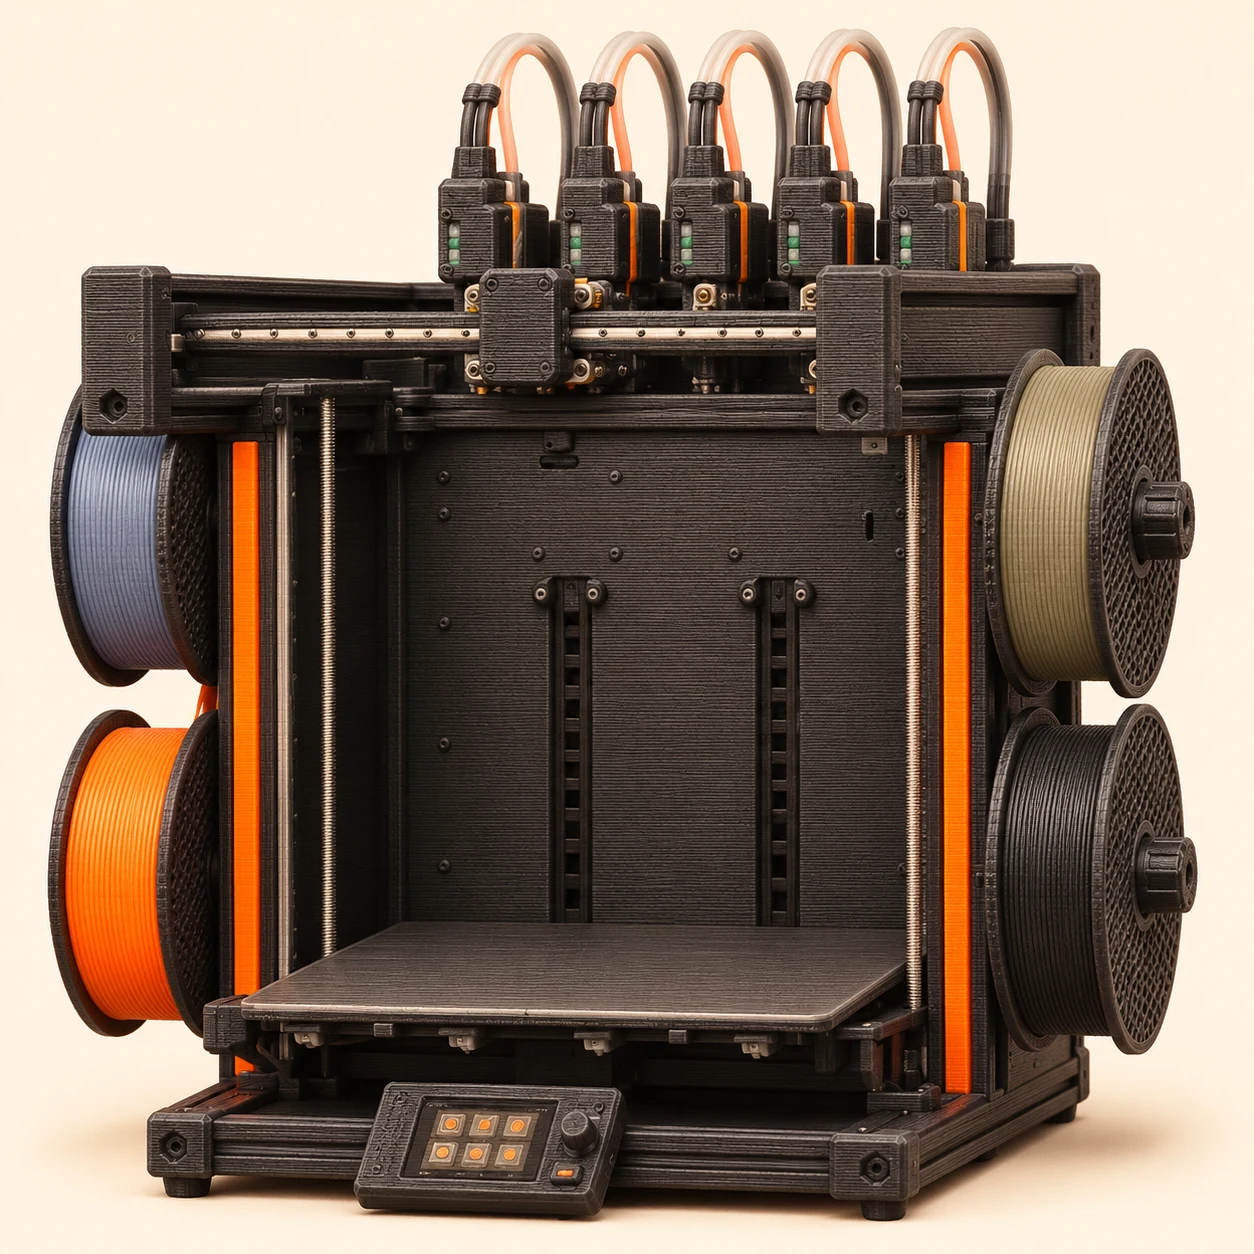
Bambu Lab H2C
A different route to lower-waste changes.
Worth comparing alongside the H3C when the H2 platform and its Vortek hotend-changing approach match your projects and budget.
What to compare
Vortek changes hotends rather than complete independently fed toolheads. Material still feeds through the shared workflow; compare the included hotends and AMS package rather than counting colors alone.
Flagship workshop option
Prusa XL+ · five-tool
When “biggest” really means bigger projects.
A 360 × 360 × 360 mm build area and five independent tools make this the large-format comparison for ambitious props and compatible multi-material builds.
What to compare
The listed package is five-tool and semi-assembled. Allow room for the machine and spools, and compare enclosure options, setup time and the complete project budget.
More choices, when you need them
Other printers to consider.
Your selected printers are a starting point. These alternatives suit different budgets, projects and levels of adult involvement.
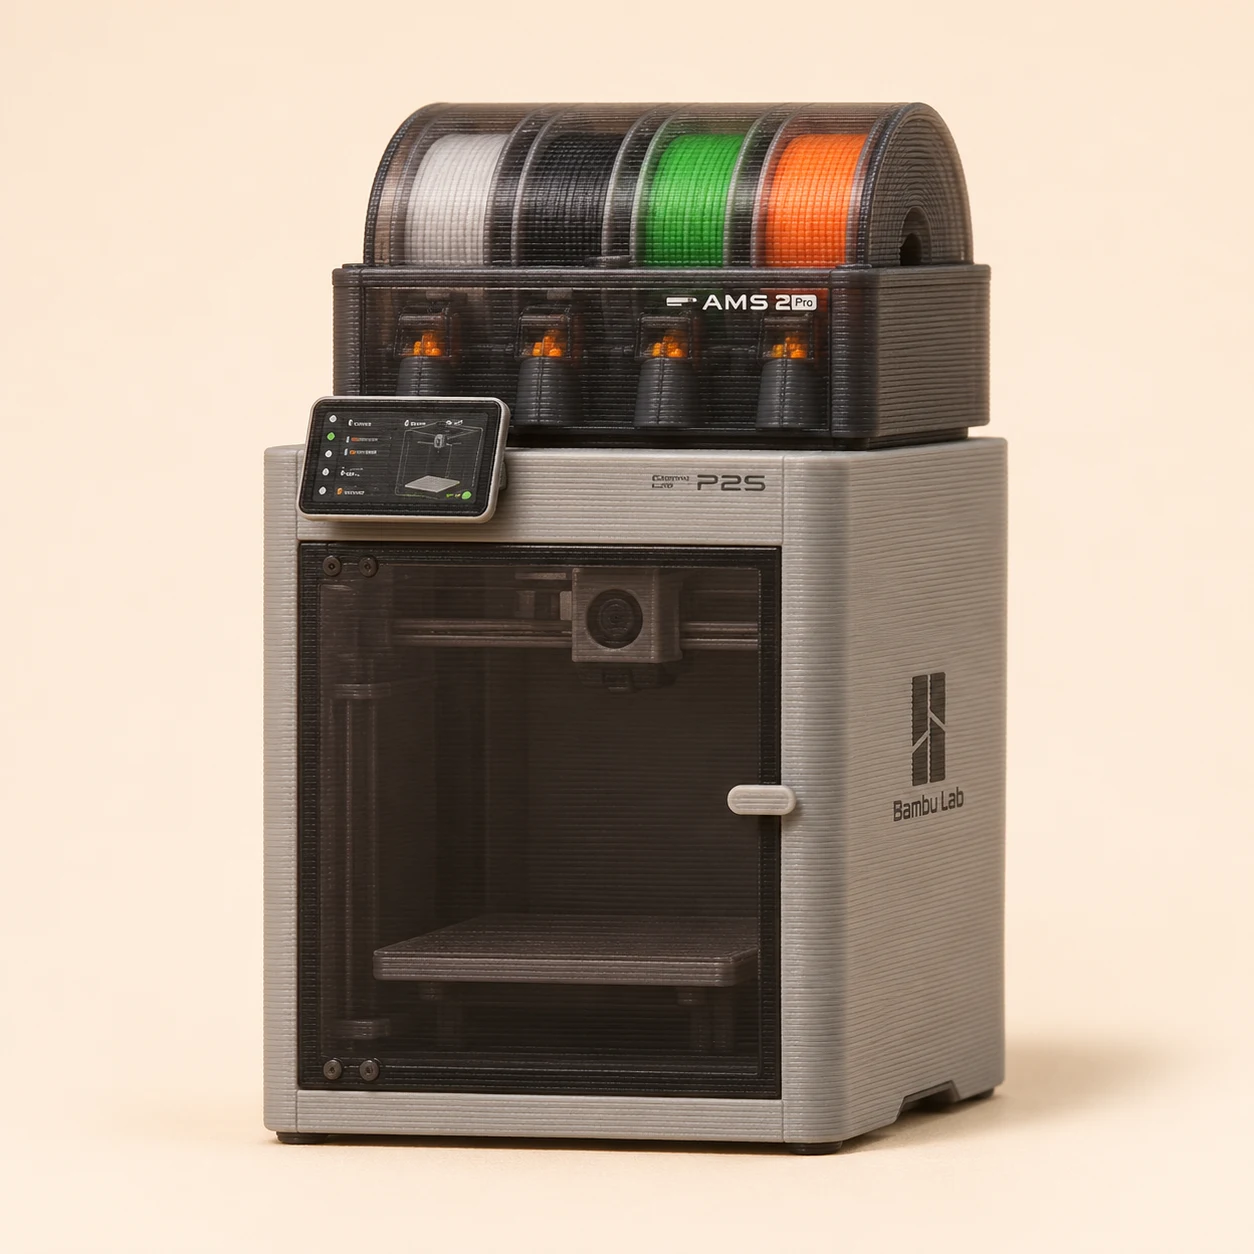
Bambu Lab P2S Combo
Consider a color-ready family setup.
The P2S Combo makes sense when your child already makes things regularly and color changes are part of their plans. It is a bigger purchase, and the enclosed layout adds a different workflow to learn.
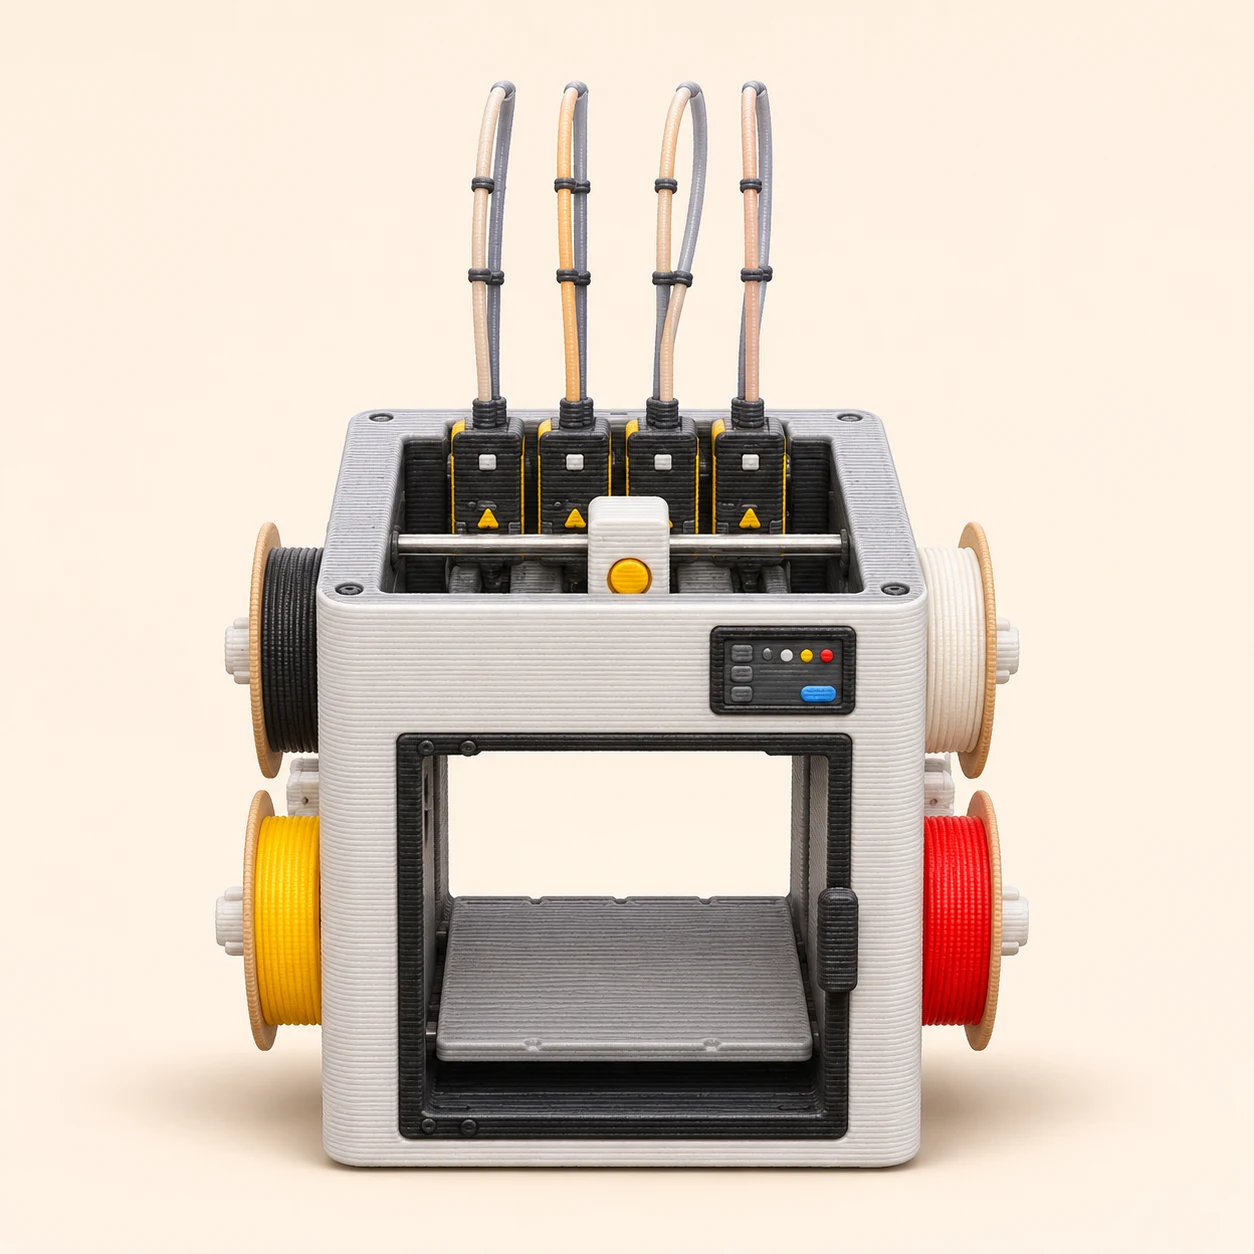
Snapmaker U1
A step up when the projects call for it.
The U1 suits an involved family already making projects that benefit from frequent color or material changes. Four loaded tools keep materials separate and add maintenance tasks to learn.
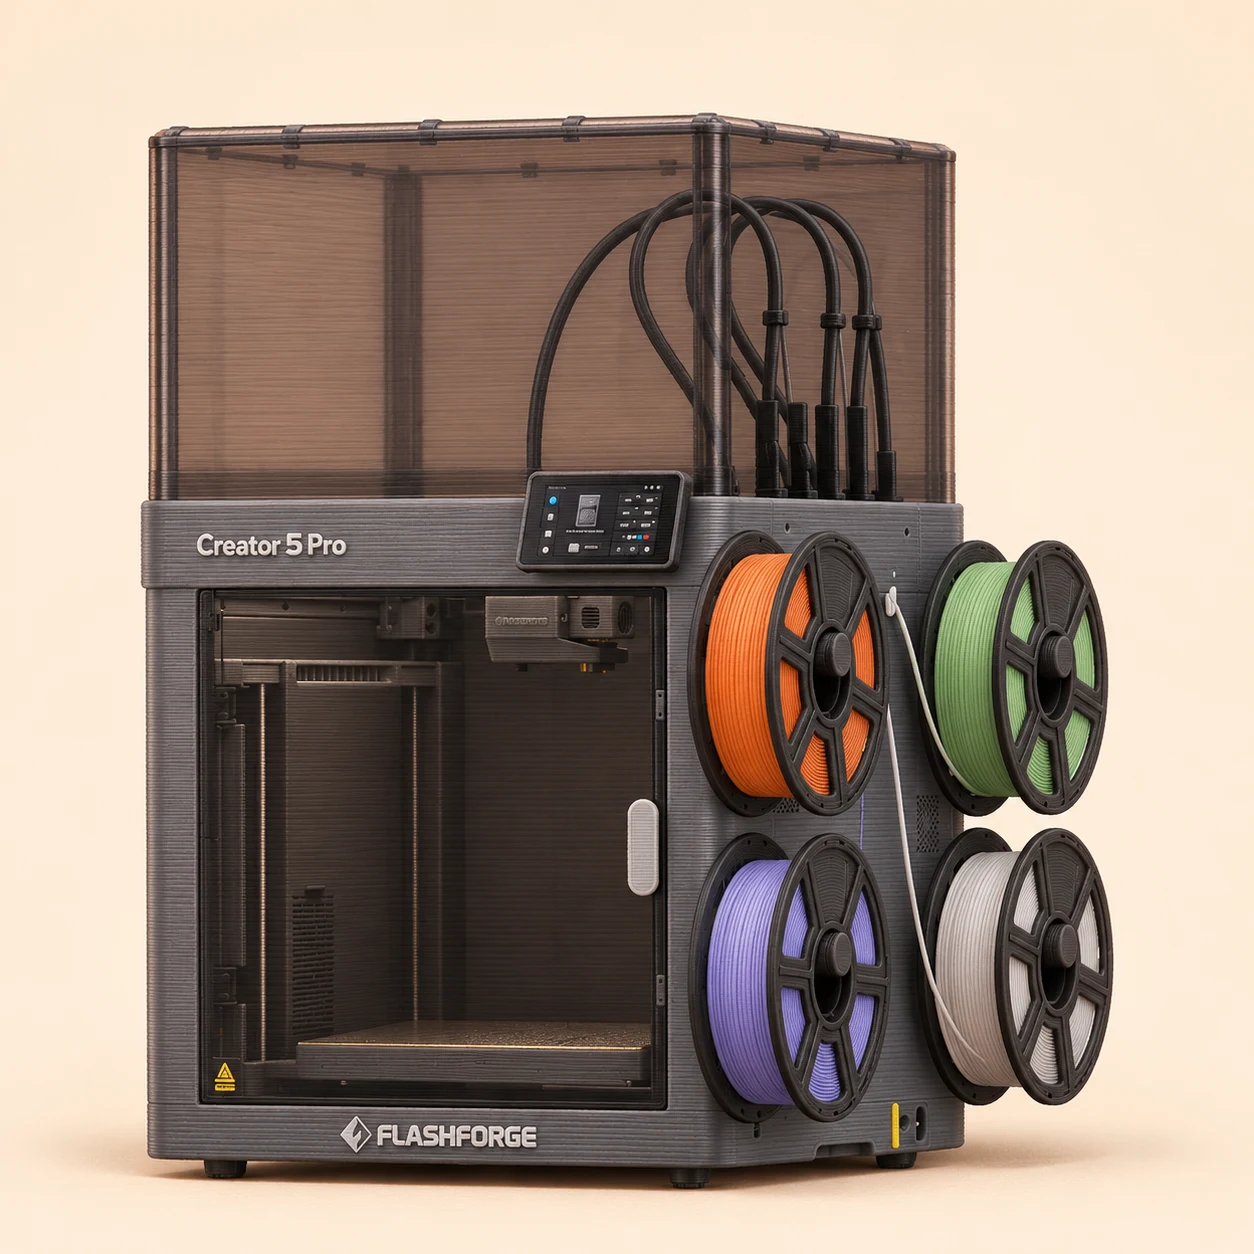
Flashforge Creator 5 Pro
Explore materials with separate print tools.
The enclosed Flashforge Creator 5 Pro uses four independent toolheads, giving an involved family another option for compatible multi-material projects and support interfaces.
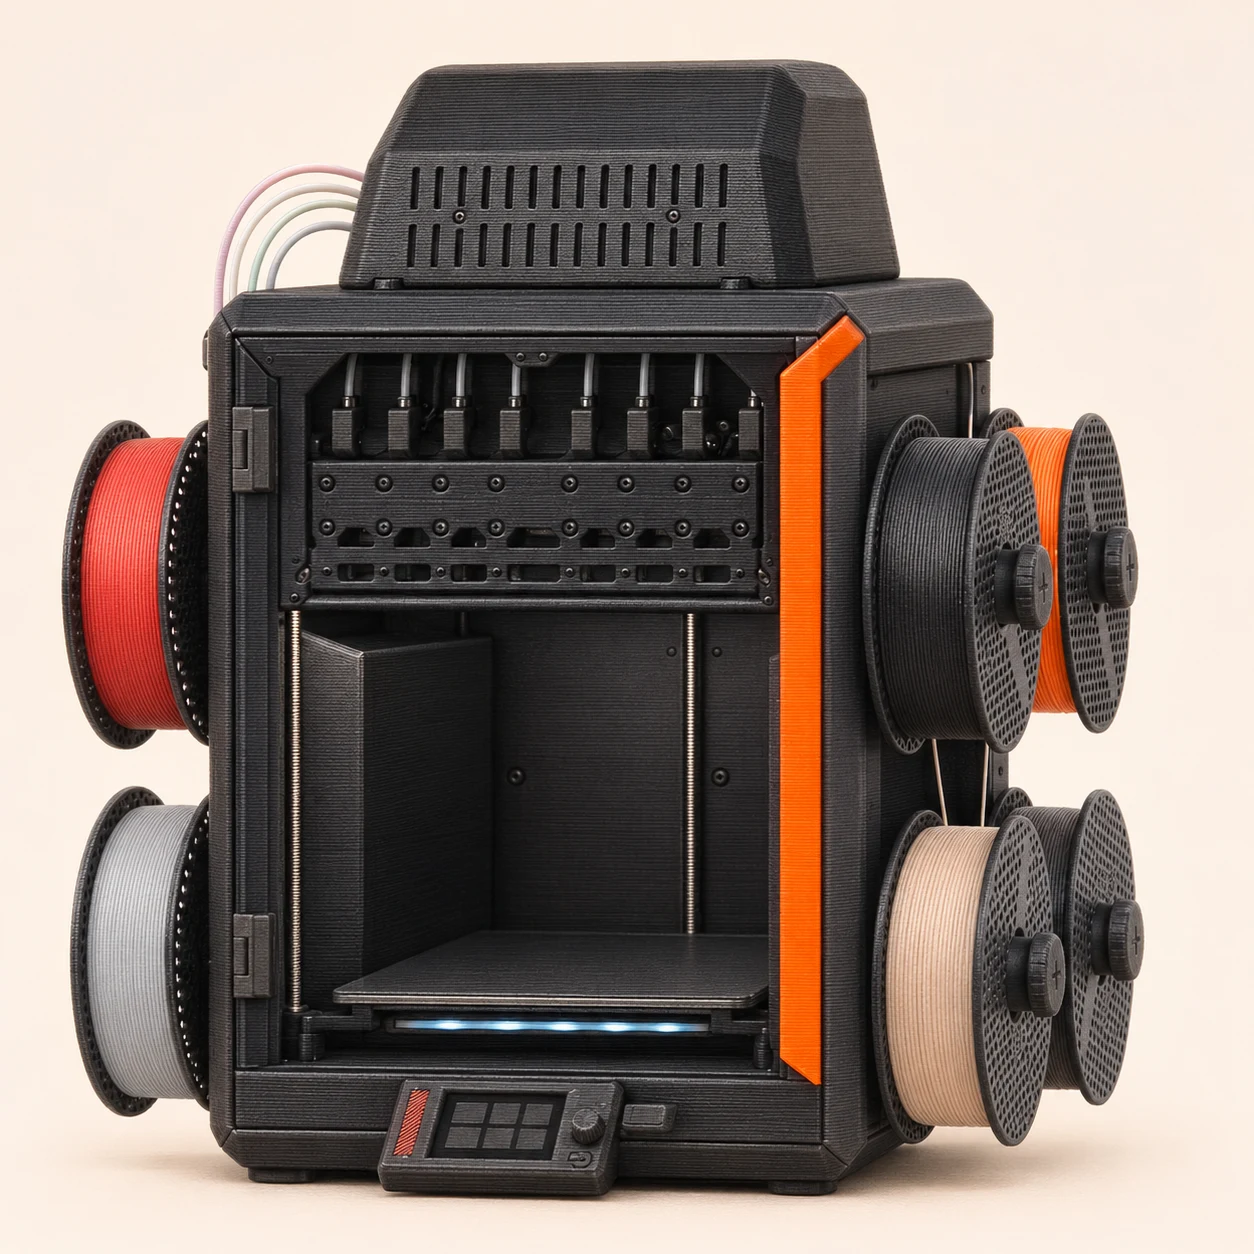
Prusa CORE One+ INDX · 8-tool
A premium path for shared STEAM projects.
The Prusa CORE One+ (Gen 2) INDX is worth comparing when independently loaded tools, documentation and a long-term platform justify the higher cost. This is as much the parent’s workshop as the child’s first printer.
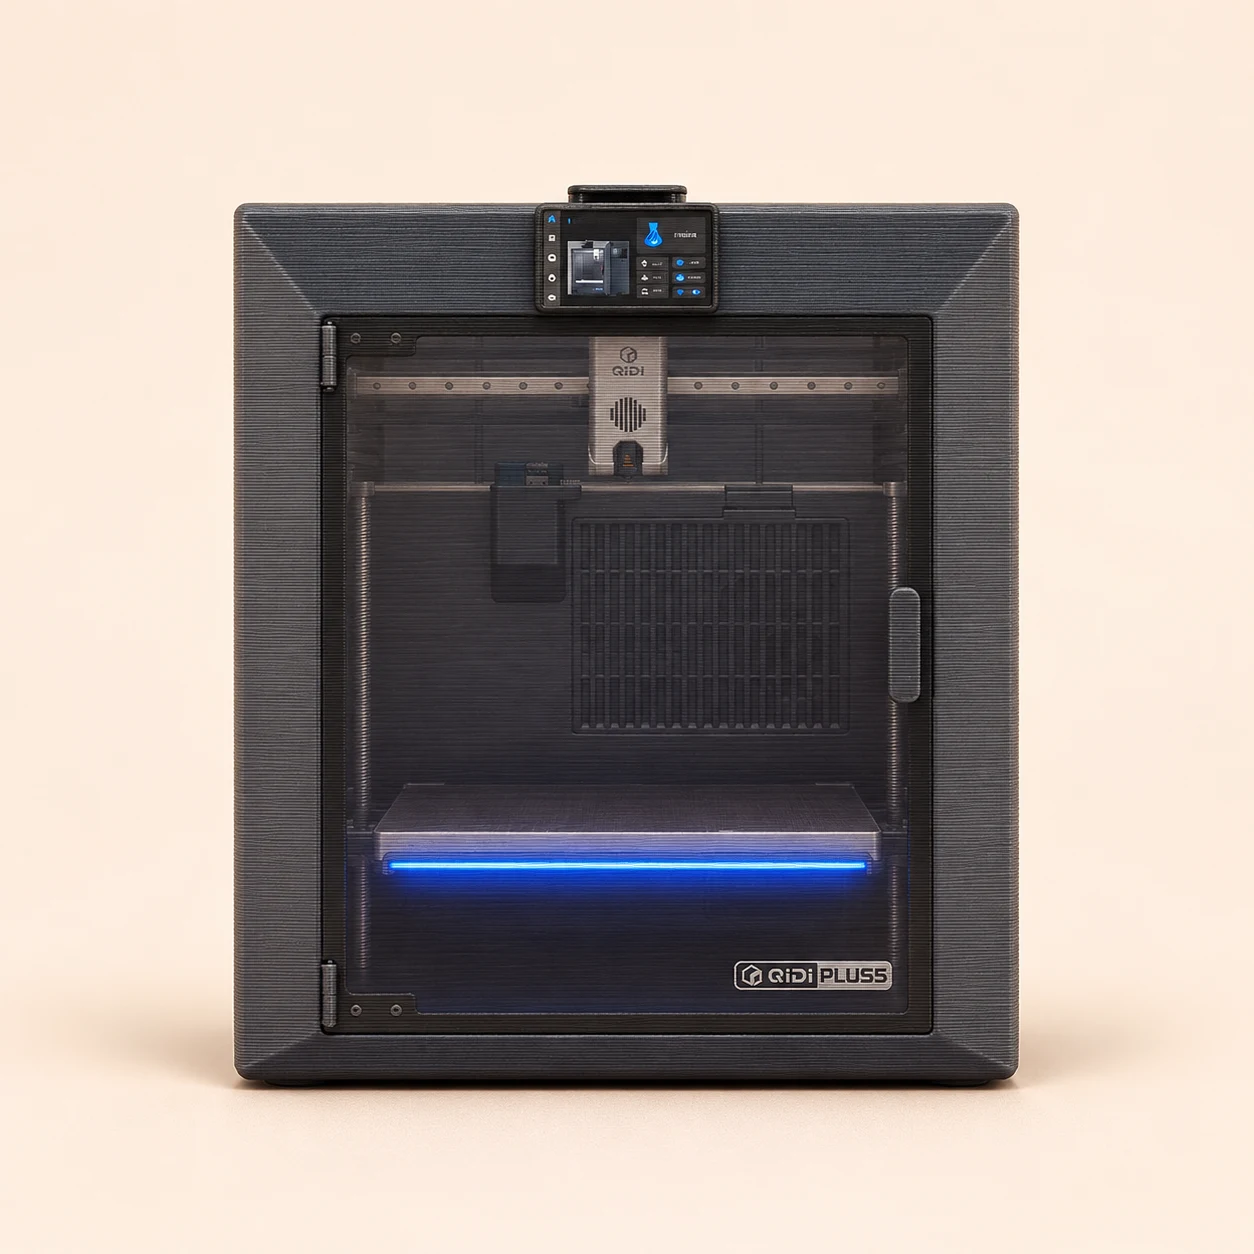
QIDI Plus5
For a parent focused on functional materials.
A heated chamber makes this worth comparing for an adult-led workshop producing larger functional parts, rather than mainly colorful toys.
What parents should check
The standard Plus5 is single-nozzle: it is not a substitute for an independent-tool multi-material printer. Drying, material-specific ventilation and a suitable workspace are part of the purchase.
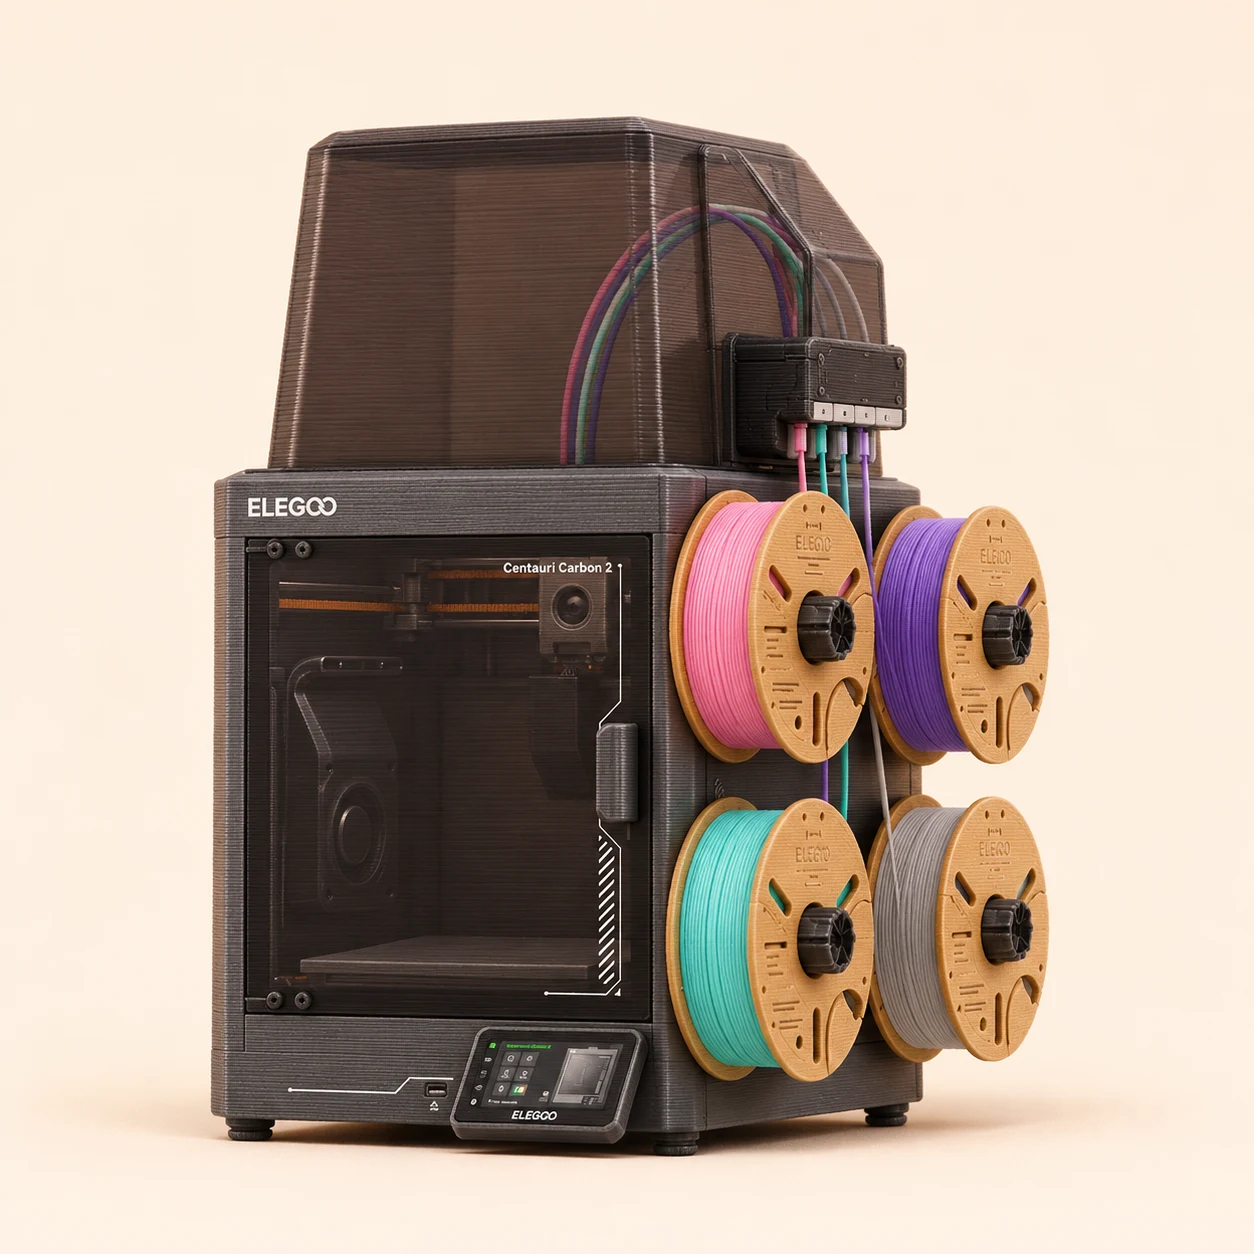
ELEGOO Centauri Carbon 2 Combo
Another four-color family option.
An enclosed printer with the CANVAS color feeder. Compare it with the P2S Combo when colorful models and everyday school projects are the priority.
What parents should check
Four colors still share one nozzle, so swaps need purging. Treat this primarily as a multicolor alternative, rather than assuming it offers the same mixed-material freedom as independent tools. Flexible filament uses a separate supported feed setup rather than CANVAS.
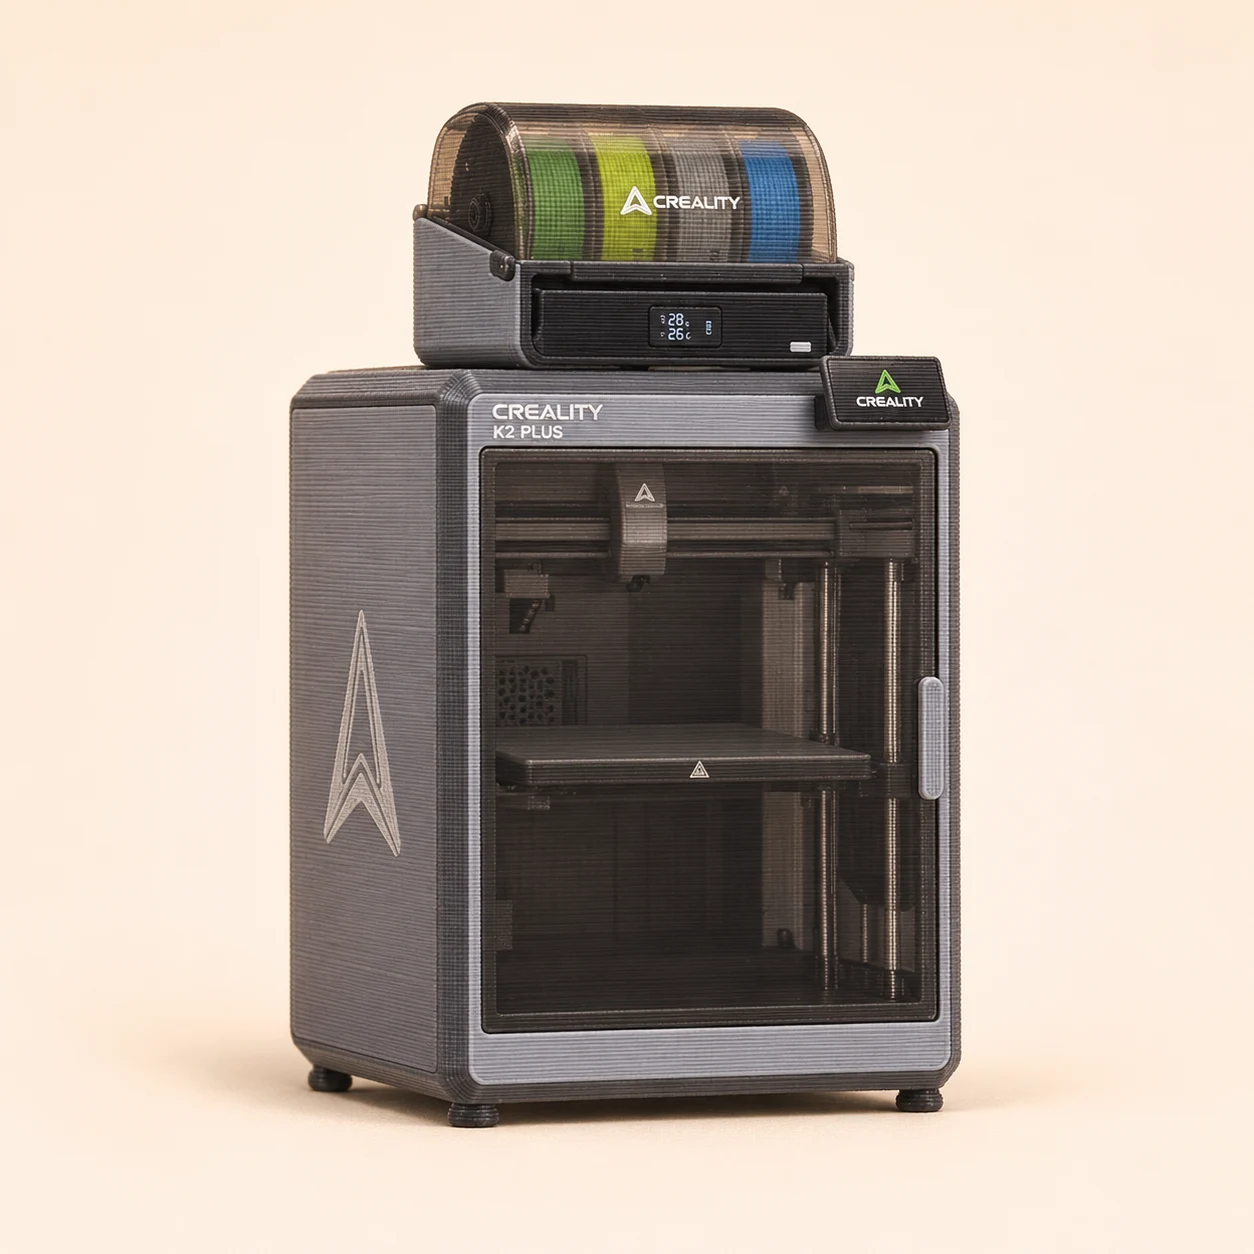
Creality K2 Plus Combo
For genuinely large projects.
Worth considering for costumes, robotics housings or school builds that would otherwise need many smaller pieces joined together.
What parents should check
This is a large workshop purchase. Measure the bench, access space and filament-system footprint, and plan adult help.
Plan a comfortable starting budget.
The printer
Compare the complete package you intend to buy. “Combo” usually includes a color-feeding accessory; a printer-only price may look much cheaper because that accessory is excluded.
A simple starter kit
One suitable spool of PLA, the tools already included with the printer, and a safe place to work are enough to begin. Add more colors when a project calls for them.
Room to learn
Keep a little money and time for test prints, an occasional replacement part and a class. You can learn to design for free before buying upgrades.
What will you need to help with?
Choose the place together
Use a stable surface with space for the printer’s movement and filament feed. Plan suitable ventilation away from bedrooms and regularly occupied living areas. A small printer still needs room around it.
Be the operator at first
A printer is a making tool with hot and moving parts. An adult should supervise, handle maintenance and help stop a print when something goes wrong. A closed door on a printer does not make it safe to leave young children in charge.
Expect an occasional hiccup
A failed print does not automatically mean you bought the wrong machine. Clear documentation, useful support and a community you can ask are part of the purchase. Start by taking a photo and checking one thing at a time.
Find help with a first hiccup →Make the first weekend a win.
- Let them pick one small thing. A nameplate, little toy or gift with a flat base is a better first appointment with the printer than an overnight showpiece.
- Prepare it together. Use the supported printer and material settings. Preview the job and check how long it will run.
- Be there for the beginning. Watch that the first layer stays on the plate. After the job, let it cool and remove it using the maker’s instructions.
- Give it their own twist. Change a name, a shape or the size. That small move from downloading to designing is where the learning really starts.