
Our current printer pick
3D Printer Profile: Snapmaker U1
A closer look at four-tool printing, material savings, SnOrca and the community turning the U1 into a broader maker platform.
There is an inevitable point in 3D printing where your expectations change. Build size, speed and material compatibility start to matter more. The Snapmaker U1 is built for that moment.
Can it make fidgets? Absolutely. But the more interesting story is what happens when color and material changes become part of the design: less changeover waste, less waiting, and more freedom to make a useful object.
U1 printer; optional top cover excluded
Dated store listing · Snapmaker US · Nov 17, 2026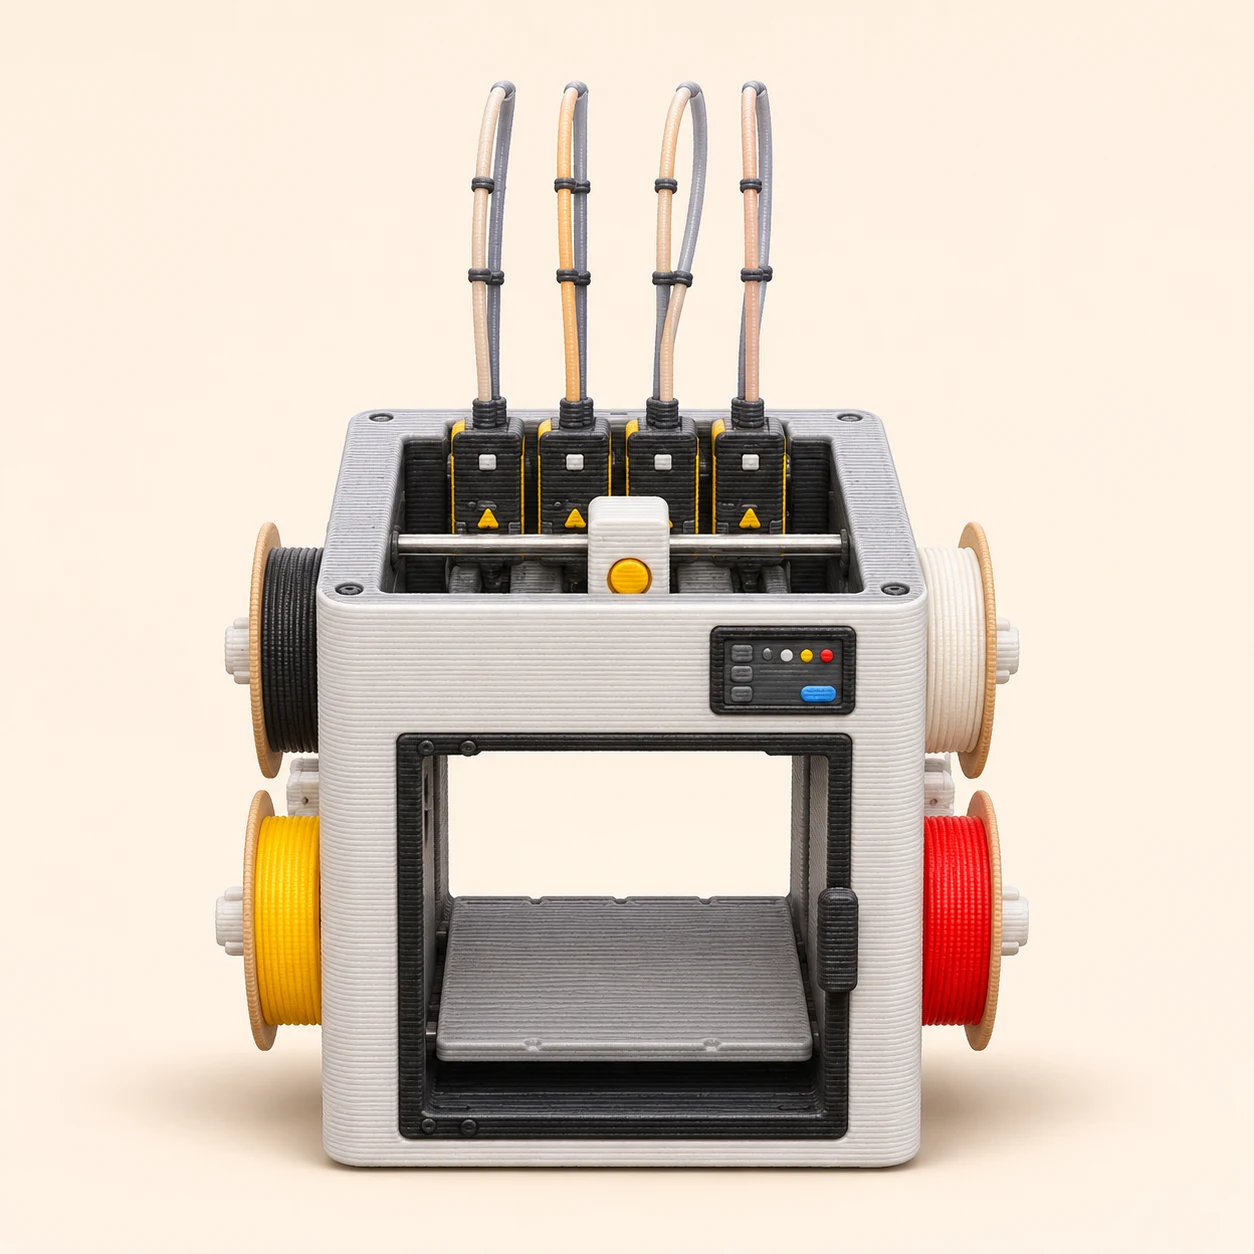
01 / What changes
Multi-color and multi-material that feels practical.
The U1 uses Snapmaker’s SnapSwap system to exchange complete printheads, including their extruders and nozzles. Four independent extrusion paths keep four filaments loaded. That is a different approach from feeding several spools through one hotend.
The biggest advantage appears on jobs with frequent changes within a layer. Keeping materials separate can cut repeated unloading, reloading and flushing. It does not make every print faster, and tool changes can still need wiping, priming or a tower. Compare the same model and settings in the slicer before treating a savings claim as your result.
“This is where multi-material becomes usable, not just impressive.”
What would you make with four tools?
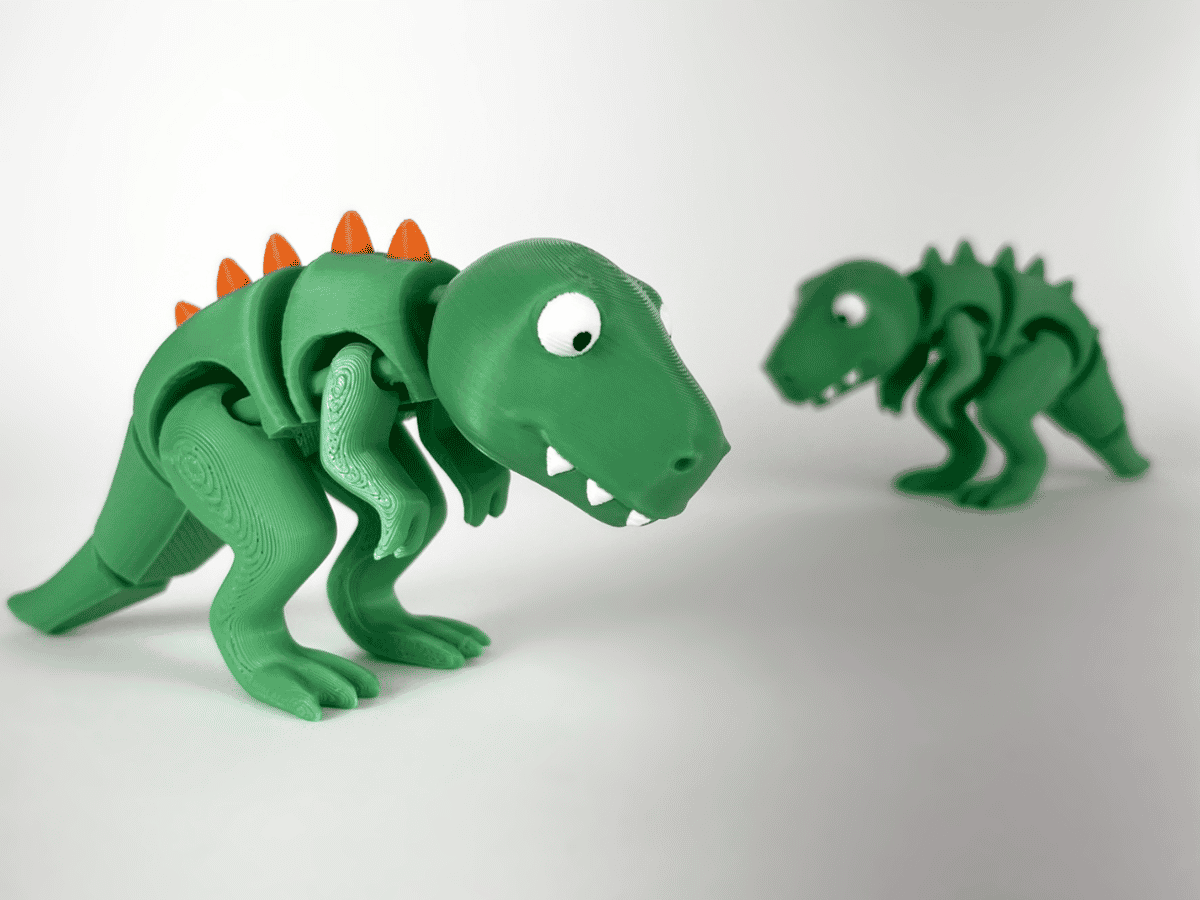
Keep four colors ready.
Repeated accents are where dedicated toolheads become useful. Each color stays in its own extrusion path, so the printer can change tools without repeatedly flushing a shared melt path. Inspect seams, priming and total print time in the slicer.
02 / The slicer
Orca or “SnOrca”?
Snapmaker Orca is a fork of OrcaSlicer, tuned for Snapmaker’s printers. “SnOrca,” as the community calls it, feels familiar if you already know a modern slicer: object painting, material assignments and a layer-by-layer preview are where you expect them to be.
Assign a material to each part of the model, check the tool transitions, then look closely at the support interface and the first layer. Snapmaker filament is our recommended starting point here: load the matching Snapmaker Orca profile for SnapSpeed PLA, PETG HF or TPU 95A HF, and let supported U1 RFID identification help with material setup. Stock profiles provide a starting point; flow, retraction and acceleration remain tools for tuning a specific spool and job.
Snapmaker contributes improvements upstream, but supported features and profiles can differ between releases and forks. Use the version recommended for the workflow you need. The printer runs Klipper-based firmware; the slicer is the separate program that prepares its print instructions.
Get Snapmaker Orca ↗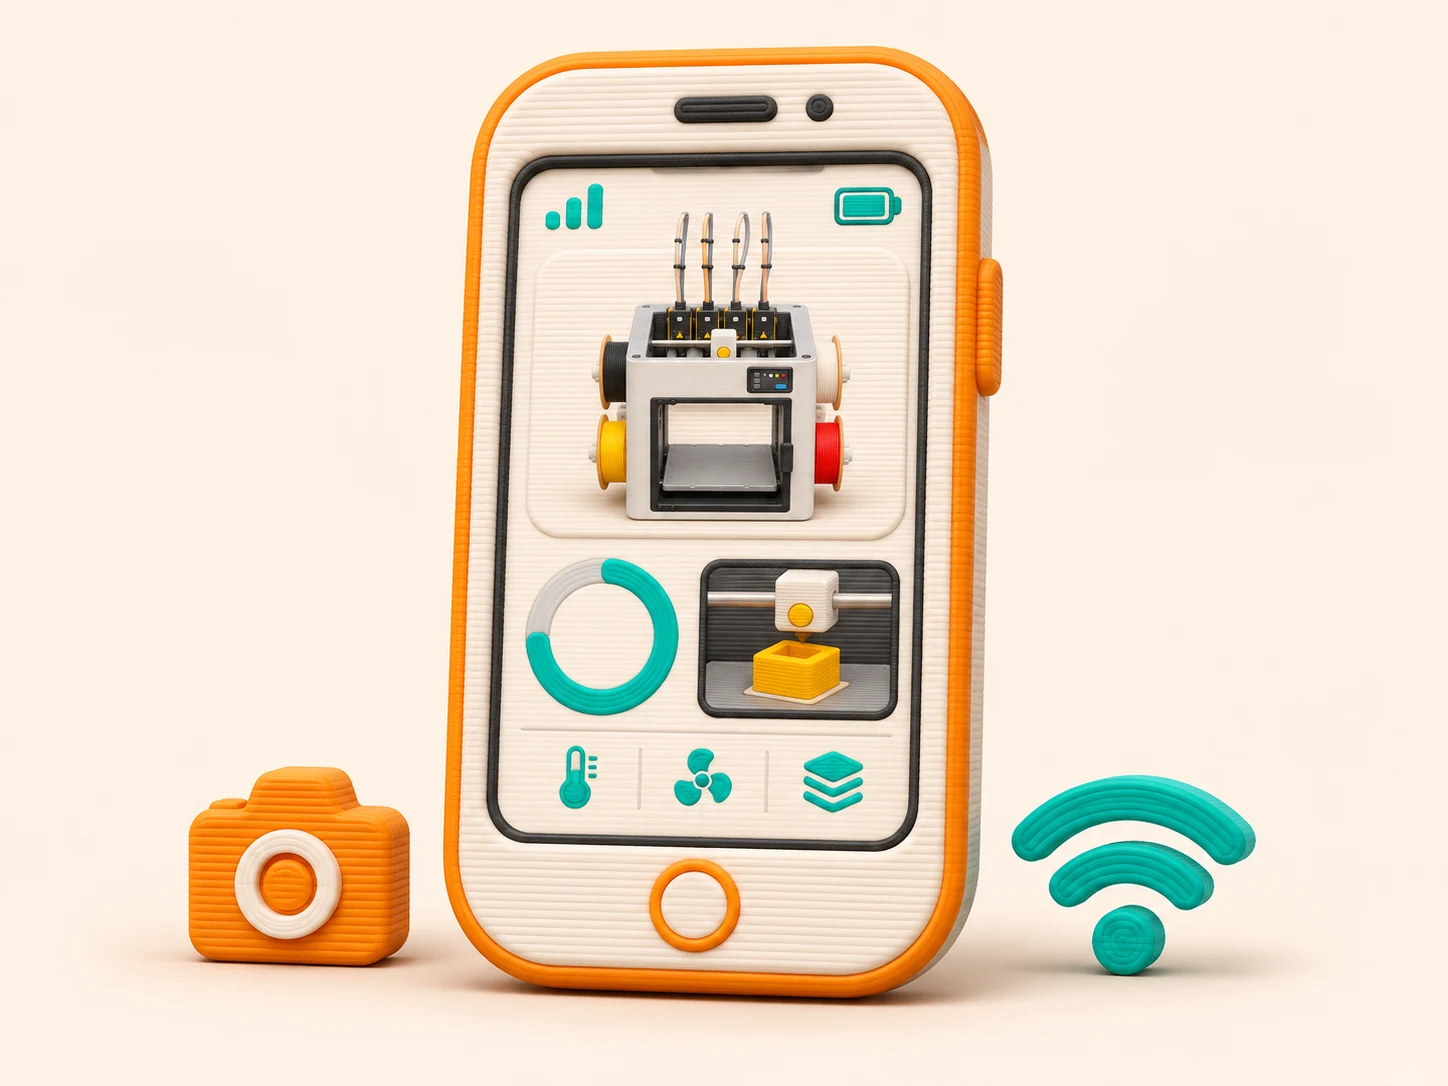
03 / The platform
Advanced, open and app-enabled.
The U1 combines a network-connected workflow, camera monitoring and slicer integration with a Klipper-based platform. You can check a job’s progress without spending the whole print beside the machine. Remote views are useful oversight, rather than proof that a print cannot fail.
For experienced users, the open firmware and public repositories offer room to understand and adapt the machine. For new owners, there is value in beginning with the supported setup, learning its normal behavior and changing one thing at a time.
That is the appeal of an open platform: the community can contribute beyond the manufacturer’s roadmap. Aftermarket feed systems and firmware experiments exist, but they do not change the stock machine’s four-tool specification or guarantee lower waste on every job.
Explore Snapmaker’s U1 firmware ↗04 / Community ideas become features
Four base filaments. More apparent shades.
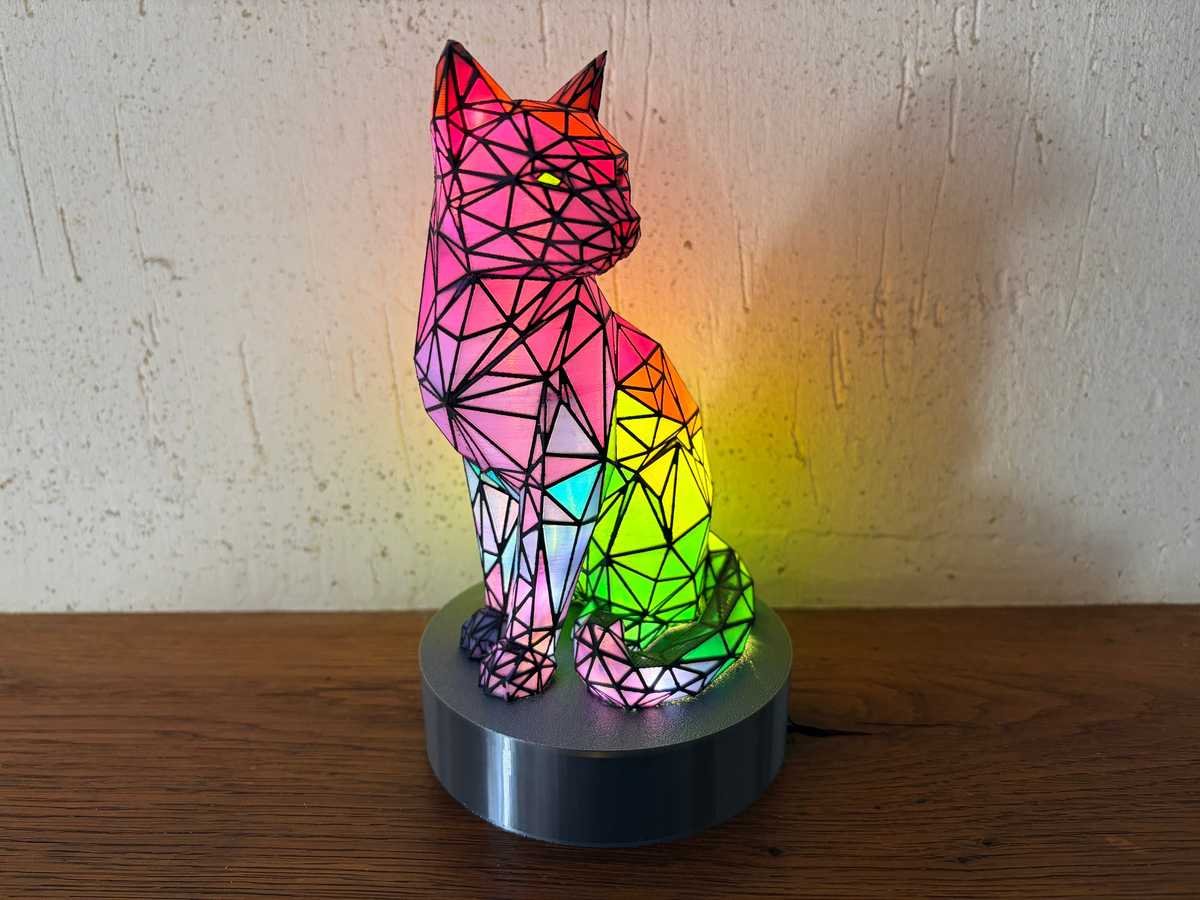
Full Spectrum grew out of community experiments in layer-based color mixing. Snapmaker brought developer Radu, known as Ratdoux, into the team, and its current software page lists Full Spectrum from Snapmaker Orca V2.3.3.
The effect is optical: carefully arranged layers and color patterns create apparent shades. Four filaments do not become a liquid-ink mixing system. The model, filament colors, calibration and lighting all influence the result.
That progression—from a community experiment to a supported slicer feature—is one of the strongest examples of the ecosystem described in this profile.
Explore the cat project ↗Start by matching the creator’s specified base filaments and Full Spectrum profile. Snapmaker’s dedicated Full Spectrum bundles provide another supported starting point; the current White Edition bundle calls for Snapmaker Orca 2.4.0 or later. Do not substitute a bundle into a creator’s recipe without checking compatibility.
05 / The people behind it
Snapmaker as a company.
Snapmaker came to the U1 with years of modular fabrication hardware behind it. Its earlier 3-in-1 systems brought printing, laser and CNC work into one ecosystem, and helped build a community comfortable with upgrades and iterative refinement.
What matters to me is the visibility: engineers in discussions, active community channels, and a company willing to recognize work that starts outside its own team. No launch is free of growing pains, and support experiences can vary. My impression of the community outreach is positive.
“Firsthand, I can say that it feels genuine.”
06 / The hours you get back
Real time savings.
Speed matters. Reliability matters more. Automated setup and calibration reduce some of the manual work before a print; consistent tool alignment matters when a model changes materials many times.
The useful comparison is the whole job: preparation, tool changes, wiping, support removal and failed attempts. A fast motion specification does not tell you the finished-part time. A straightforward single-color print may give a simpler machine much less of a disadvantage.
Start with a known profile, record what changed and compare the slicer’s time and material estimates for a real project. Monitoring, runout detection and recovery features are welcome, but a successful first layer and a short test are still worth your attention.
Work through a print that went wrong →07 / Choose the setup as well as the spool
Material scope without the guesswork.
The U1’s nozzle temperature reaches 300°C. Its standard machine is open at the top: an enclosure-style body is not the same thing as an included top cover or an actively heated chamber. Check the exact package before buying for heat-sensitive materials.
PLA and PETG
Good starting points for learning the tool workflow. Use the recommended profile and test adhesion between specific materials if they share a part.
TPU
A dedicated toolhead gives flexible filament its own feed path. Check the supported hardness, drying guidance and feed settings; “TPU” covers a wide range of behavior.
ASA, ABS and engineering blends
Snapmaker’s wider material list depends on the appropriate top cover, wear-resistant hotends and material-specific settings. A 300°C nozzle does not make every nylon, PC or fiber-filled blend suitable.
08 / Where it belongs
A design tool you can grow into.
The U1 is most compelling when a part needs repeated color changes, a flexible section or a separate support interface. It makes those decisions part of the design process, rather than an awkward workaround after the model is finished.
That does not mean every first-time printer owner needs four heads. If most of your projects are small and single-color, compare simpler machines and spend the difference on materials and time to learn. If multi-material work is already on your project list, the U1 deserves a close look.
Keep the comparison honest: the exact bundle, top-cover requirements, usable build area, material pairing and a sliced example of what you actually want to make. That is where the U1’s advantages become meaningful.